
Redbubble stickers are one of the most sellable products there. There are inexpensive and easy to use. It can be one of the easiest ways to enjoy a physical form of an artwork. This guide may also work for those interested in how to make Redbubble text stickers for free.
Please note that this post displays various different stickers (licensed) for ideas and inspiration purposes only, please do not download or use for Redbubble or anywhere.
How to make Redbubble stickers and sticker packs (free and paid)
- Create a PNG format canvas or document with a transparent background e.g. 2800 x 2800 px of 200 DPI with CMYK color format for prints
- Follow a Redbubble trend (optional)
- Create the design in the graphic app
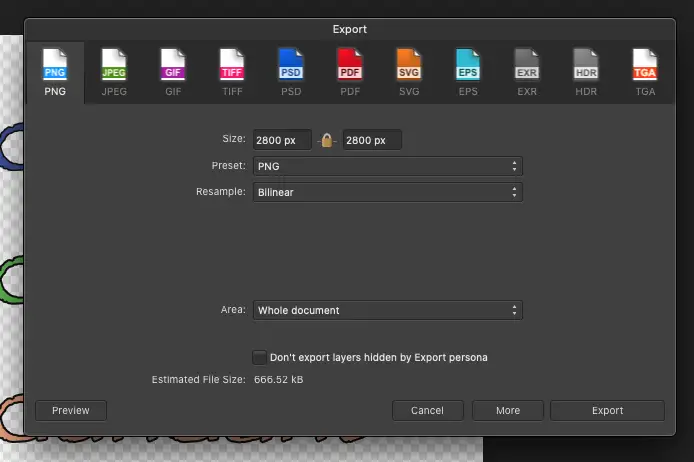
- Export to PNG
- Upload to Redbubble
- Add title, tags, and description information, and save
- Add another version (optional)
In this tutorial, Affinity Designer (paid) for a stickers pack and Pixlr (free) for a sticker will be used, but any graphic app or resources that can repeat the above steps should be fine.
Why make Redbubble stickers?
- Redbubble stickers is probably the easiest selling product type on Redbubble
- It is easy to create simple sticker designs for selling
- Both beginners and advanced designers and artists can sell stickers to help kick-start or test their art business. It is also a good learning ground for creating and listing artworks for sale
- There is no listing fee or limitation to the number of artwork uploads
- Designing can and should be a fun process and Redbubble stickers can be our playground for these creative adventures

Create a PNG format canvas or document with a transparent background
In Affinity Designer, 2800 x 2800 px of 200 DPI with CMYK color format for prints.

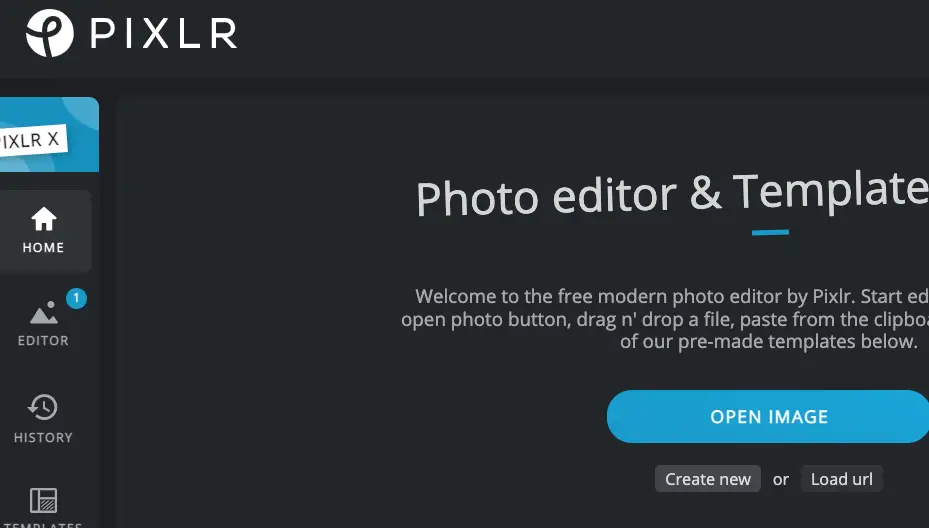
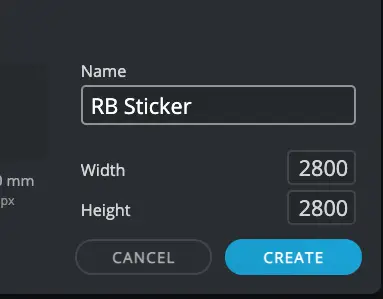
In Pixlr(free), click Create new and set the custom size to 2800 x 2800 pixels.
In the Layout & Template icon on the lift sidebar, Toggle Background off means transparency. Select any visible color background to work with a black text so the design will be visible with Redbubble surrounding white background.
Remember to turn off the background toggle in the final artwork for transparent background before exporting as PNG.
Follow a Redbubble trend (optional)
If you have a confident idea for what to sell, please go ahead and skip this section. For those who are unsure or know how difficult it is to get Redbubble sales please read on.
How to find out what is selling on RedBubble? How to follow a Redbubble trend?
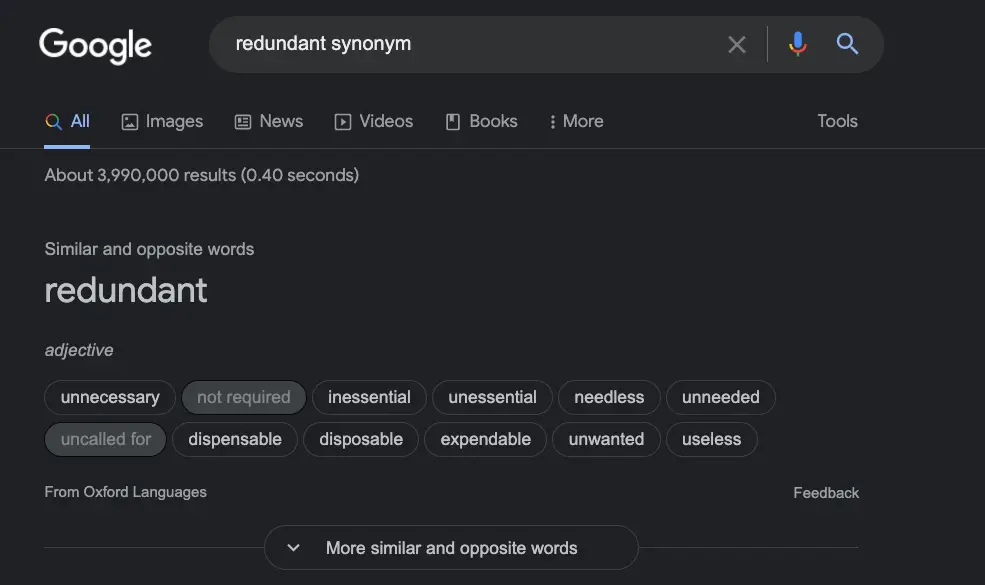
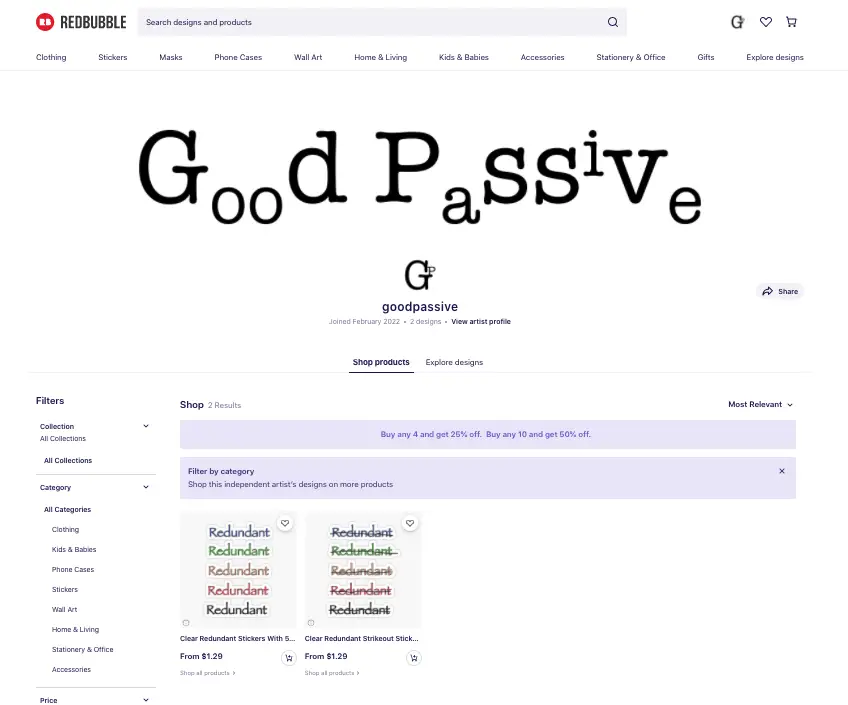
Go on Redbubble and at the search box, start typing any alphabet e.g. the letter r. And look at the results with the trend icon next to it. For example, the letter ‘r’ showed up trend searches. Only one seems safe for designing: redundant.

Next check for the number of results. In this case, it is 413, which is quite good considering 1000 to be saturated. Look at both the trending (maybe seasonal) and bestselling (maybe evergreen) filters to get an idea of what is selling (not copy) so we can aim to design better or alternative versions.
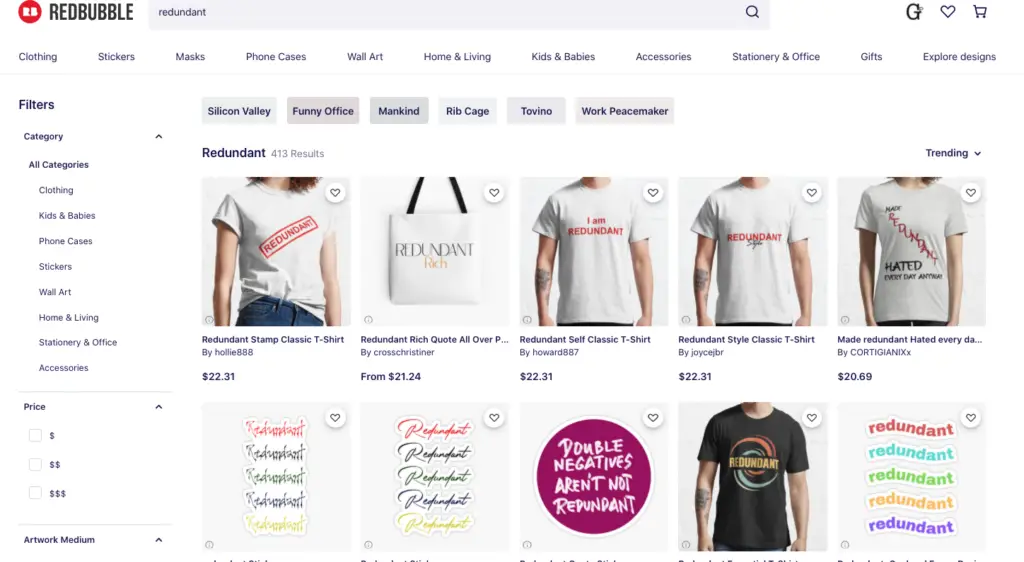

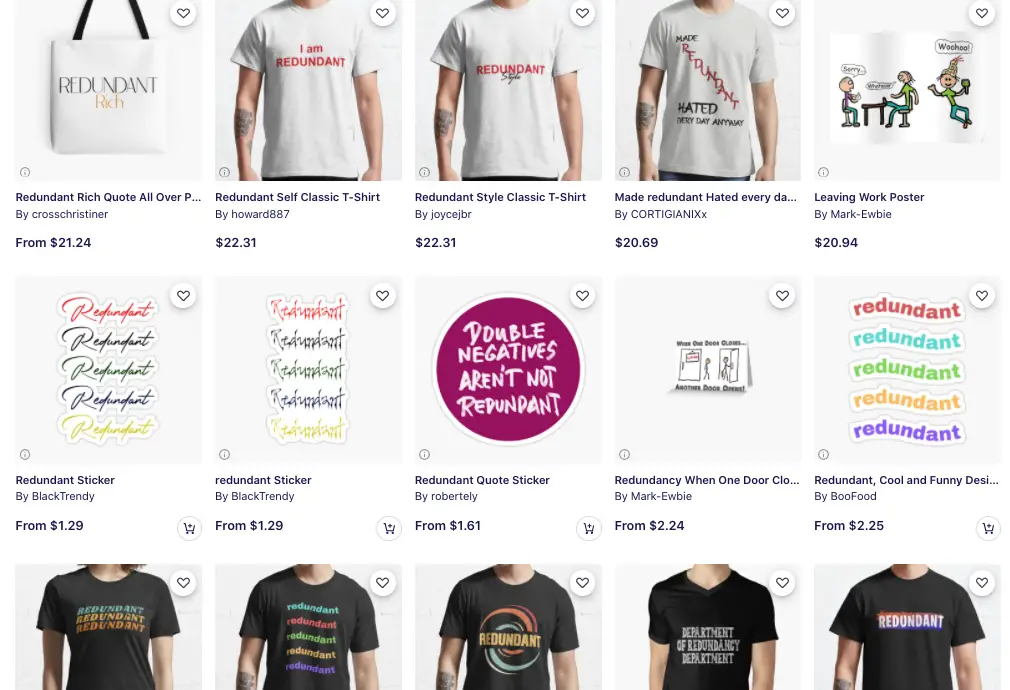
Note the type of designs, some or most of them are text-based. It is also a good idea to spend a little time to make our designs unique, stand out, and differentiate from others.
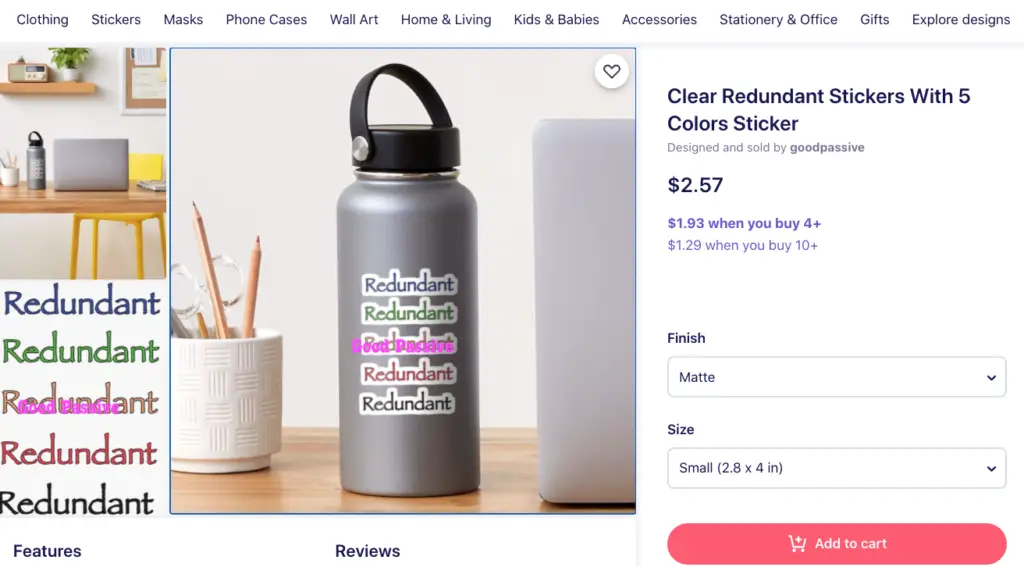
For some reason, people like to stick ‘redundant’ stickers to stuff.
Let’s move on to designing alternate versions of this sticker!
Note: Please ensure to avoid faces, person names, lyrics, trademarks, company names, and anything that is copyrighted to be on the right and safe side of artistic creations.
Create the design in the graphic app

There are different types of Redbubble stickers designs including:
- Simple text or in alternating fonts including cursive
- Text with a letter replaced with a graphic
- Text in a rectangle
- Bubbled speech text
- Shadowed text with outlined effects
- Graphics
- Sticker packs e.g. different graphics or text on one sticker
How to create a RedBubble sticker design

For this sticker example, Pixlr (free) is used to create a trash can replacing a letter in the word. Please note that Pixlr can also be used for a stickers pack as long as the stickers designs are not too close together. Pixlr has some free and paid fonts options.
- Click the paint tool to draw (optional)
- Add text and start customising e.g. size, font, colors, and rotation
- Disable or toggle off the background color when done
- Click save to start exporting

How to create RedBubble stickers pack design
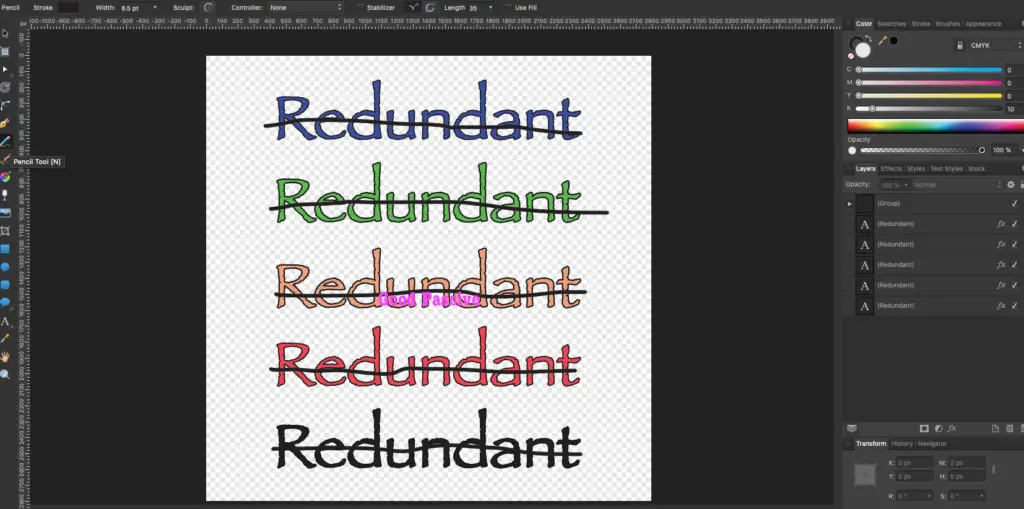
For this stickers pack example Affinity Designer (paid) is used, starting with a simple word with one font type.
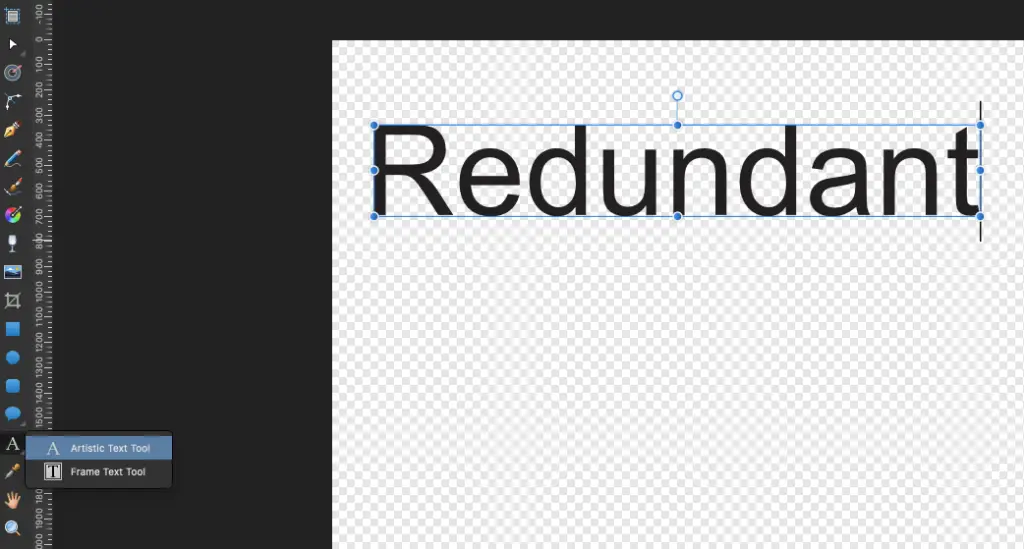
Start being creative and put in some relevant or fun elements into the design. Type ESC after typing text, and press V to enter Move Tool mode to move the text layer around.
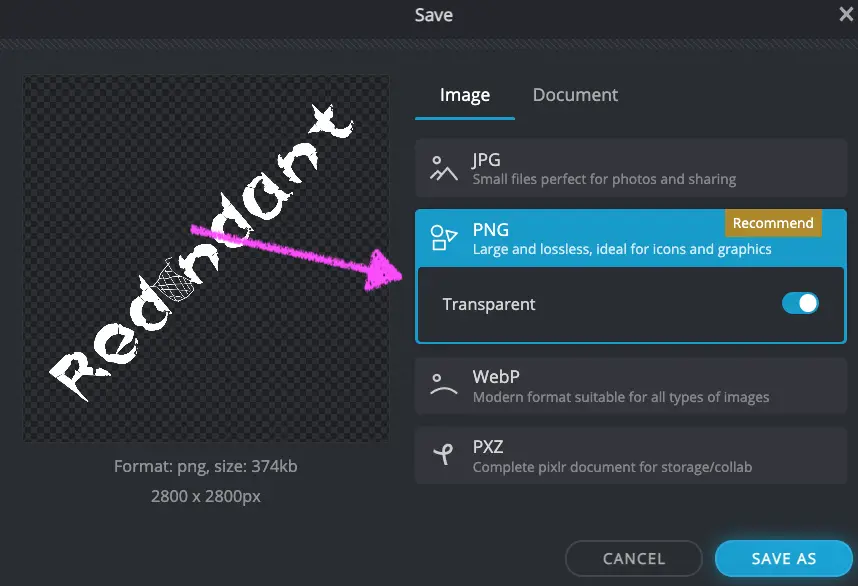
I applied the Papyrus font and set the outline in the Effects tab to about a 6px radius to make it clearer.

This is one version and it is a quick effort at that.
Holding the Option key (Alt) and clicking to drag will create a duplicate layer (text) quickly. Holding down Shift will also help to move to a straight line.
Let’s add a little personal touch to it. I used the Pencil Tool (N) to strike it out to add a more realistic feel for redundancy.
Let’s export the 2 versions into PNG format for uploading.
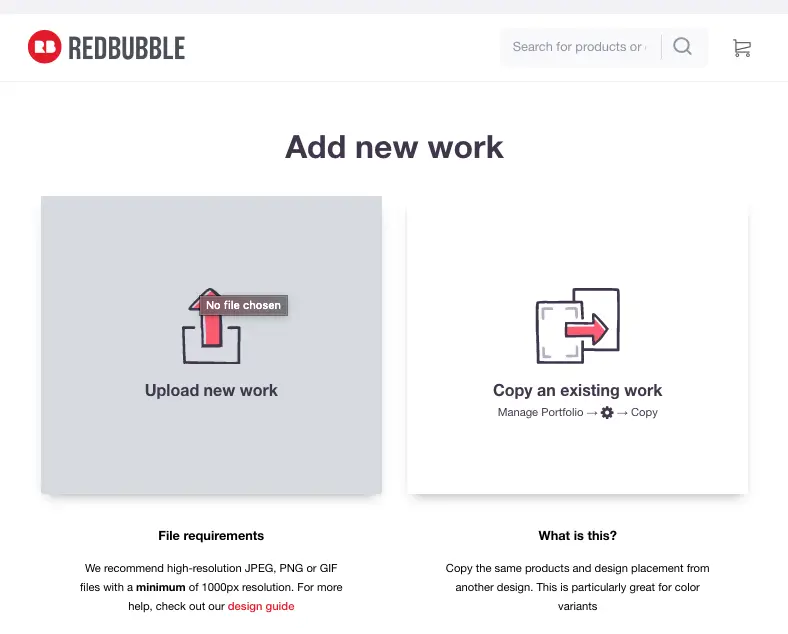
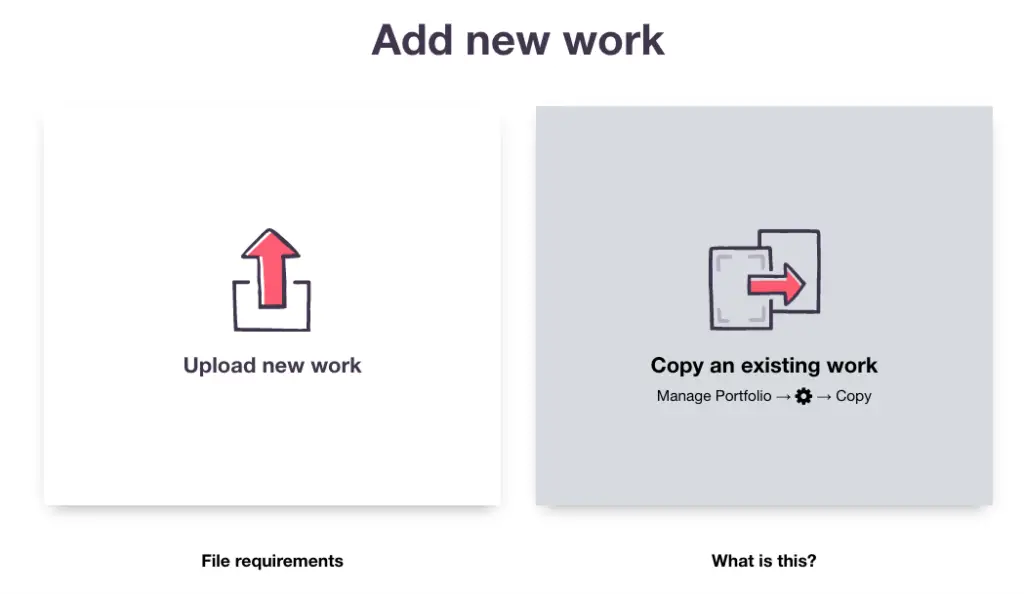
Upload to Redbubble
Upload new work for the first version of the sticker. The second version will use the Copy an existing work.

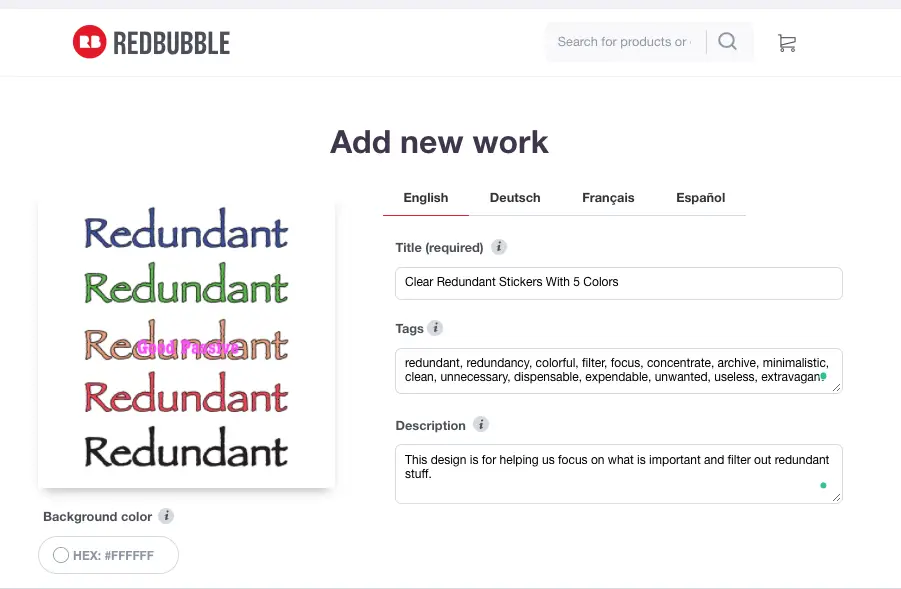
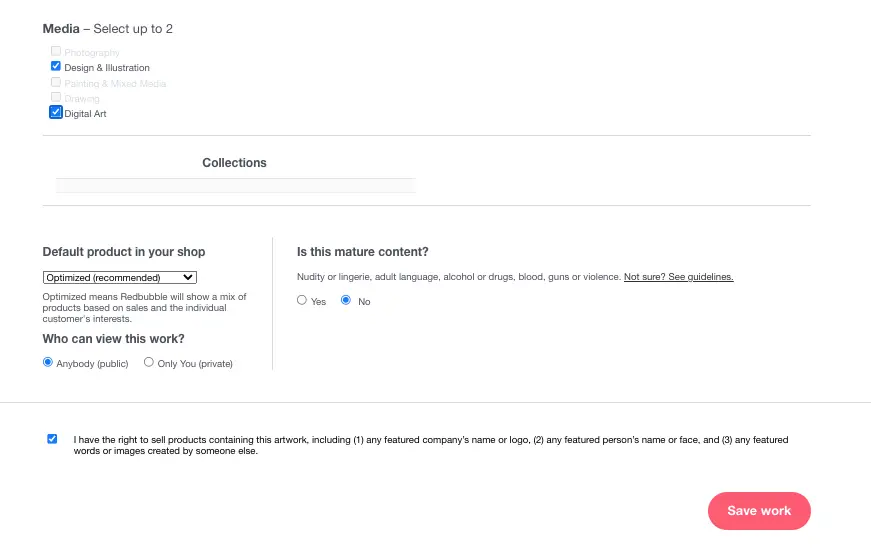
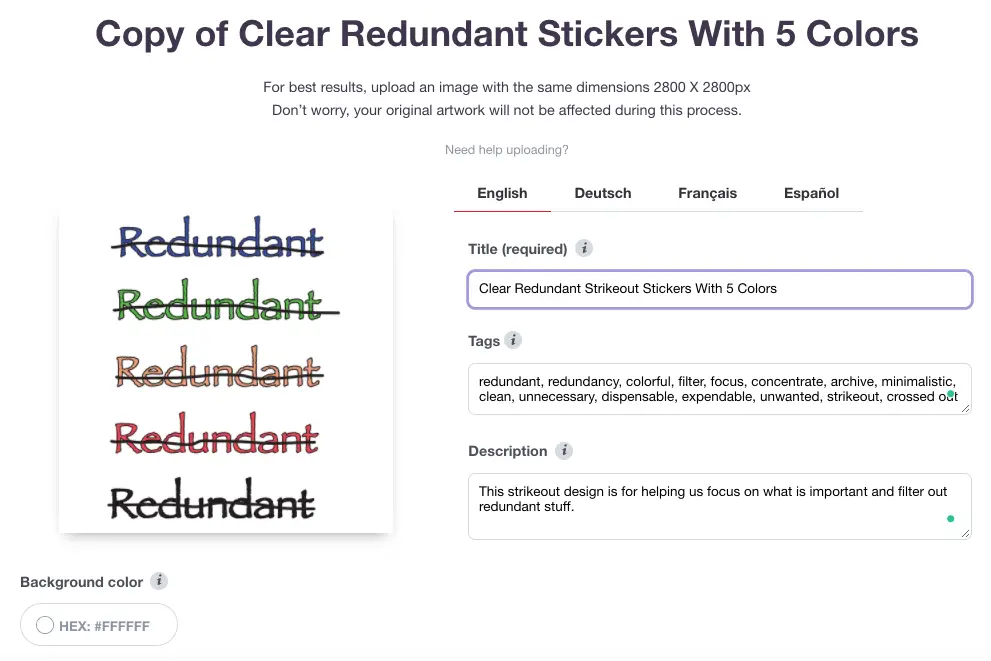
Add title, tags, and description information, and save
Put in a relevant title, tags, and a short description of the design. Tags can be any relevant keywords we can think of, other suggested Redbubble keywords, and synonyms. The key here is to stay relevant.
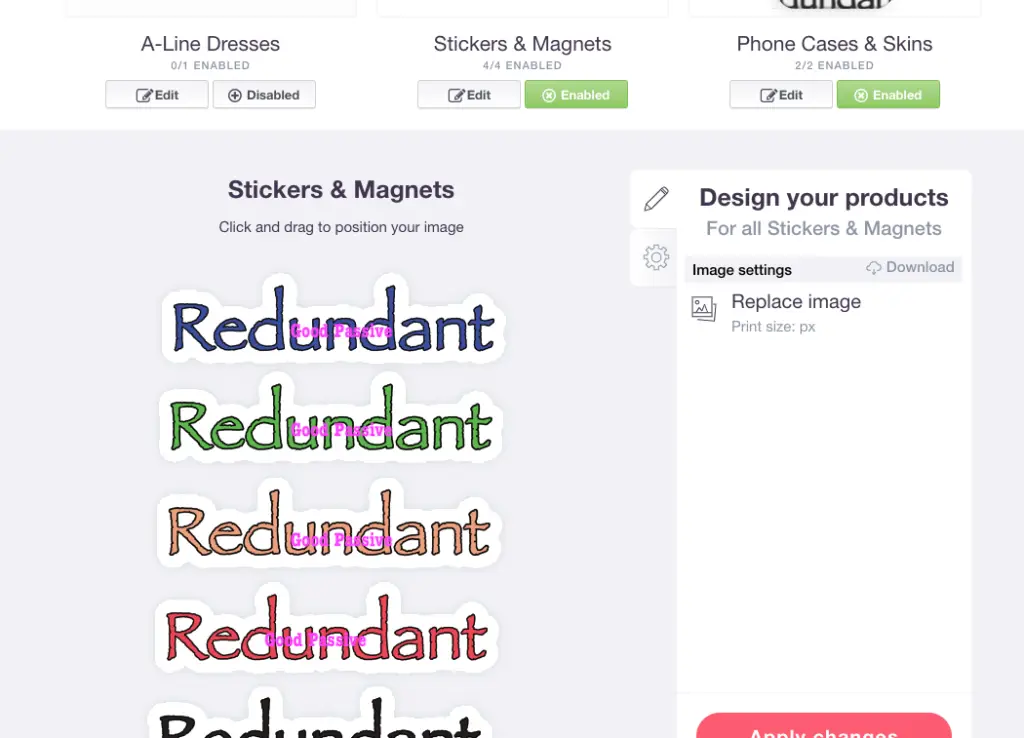
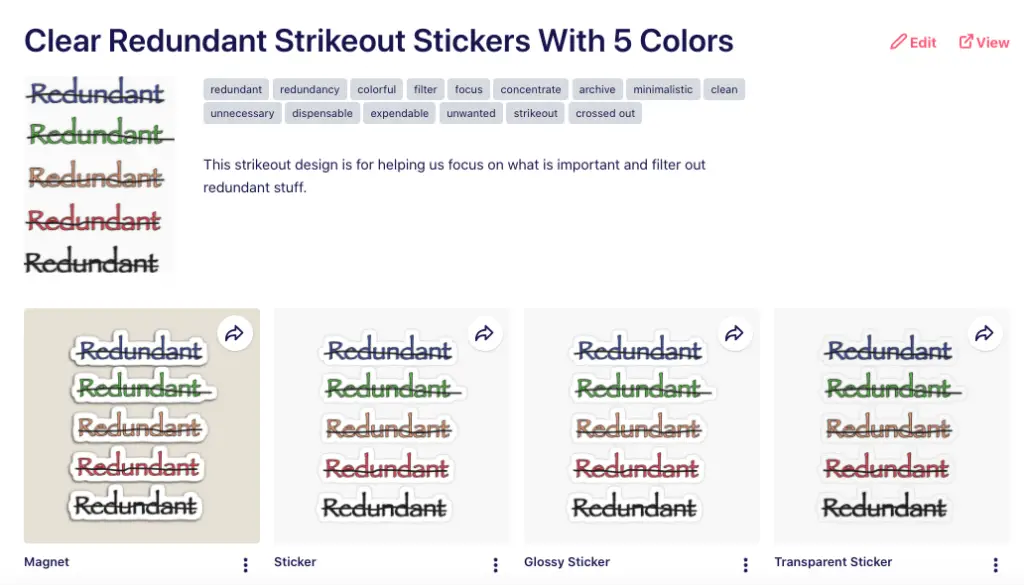
Click the image at stickers and magnets to preview how the sticker or magnet will look. Please note I scaled down the text in the image so that the white outline around the text do not overlap each other.

Add another version (optional)
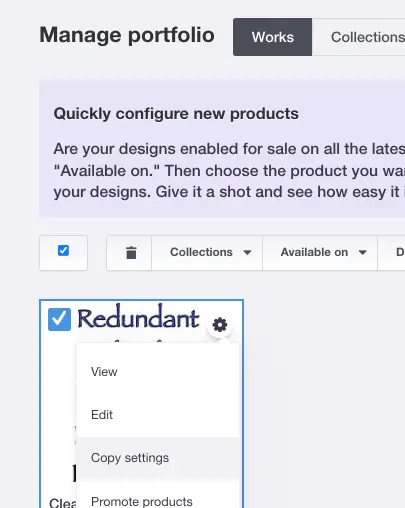
This time upload with Copy an existing work, select the work->Copy Settings.
Again upload the new design and edit the information accordingly. Most of the tags may remain unchanged. Remember to click the sticker and magnet image to check if the white spaces are not overlapping before saving the work.
It is easier to see the white spaces around the text in the magnet version.
Congratulations for making it this far. You may take a look by visiting the Good Passive Redbubble shop. Please note you may have to wait a few minutes wait for new designs to show up.

Can we make sales without external marketing on Redbubble?
This is an obvious and important question in my opinion that people may overlook or simply did not even know they should be asking. Not every artist and certainly not everyone is an expert nor interested in general products marketing.
A small experiment here illustrates the point that few sales were made for less than 10 trending products in a few months with some tweets that yield no results.
On a side note, I have learned that an experienced T-shirts seller who prefers to focus on the designing aspect that his products on Merch By Amazon are selling well there even without (or much) marketing efforts on his part.
Conclusion

It may seem a straightforward and simple affair but just starting out to create a Redbubble sticker, beginners may have scouted and spent time looking for the right size and DPIs before even contemplating trends and designs.
When creating simple Redbubble sticker designs, as long as we are not breaking any rules or copyright, do not overthink because done is better than none. Designs do not have to be epic to be best-selling, even free apps like Pixlr can create designs that sell well.

It is hard to predict if our Redbubble designs will make sales or not, so it is also a numbers game. Be prepared to be consistent in pumping out good and original designs to have a better chance of making it on Redbubble or any other platforms and endeavors for that matter.
Hopefully, this guide will save someone time and energy just to get clarity and overcome the basic hurdles to creating Redbubble stickers.

Be wholesome.
More Information
How to make Redbubble stickers on Mac?
Redbubble stickers can be easily made even with the default Mac Preview app or Skitch. Just download the Redbubble stickers transparent PNG template file from here. A more complex graphics software that can create graphic designs at an affordable one-time price can be Affinity Designer as shown above.

Can I create a RedBubble sticker on Canva?
It should be possible with Canva Pro which offers transparent background download. Also, it is a good idea for the Canva image download resolution to be at 200 DPI.
What are the sizes and formats for Redbubble products?
For a general file size for every single product, the recommended size is 7632 x 6480 px. 300 DPI may be a good idea just to be safe.
Where to learn more about some quick designing basics or ideas to use Affinity Designer?
Please read some related posts here.
Is there a good beginner (and beyond) courses for 3D modelling?

Please visit this post.