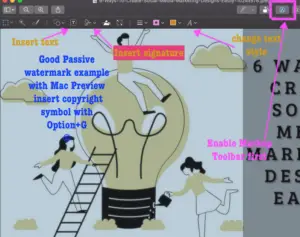
Join me in this exploration of using this free and powerful program that can perform so much with images. This short easy guide will highlight some of the common, interesting, or useful features (I tested and found on the internet) that hopefully will be of benefit to readers. Modern image processing may complement designs for bloggers and marketers (6 Ways To Create Social Media Marketing Designs Easily) alike.
This post is structured in a short question and answer with an example style for the purpose of the quick applications, not the theory of Image Magick.
What is and the benefits of ImageMagick?
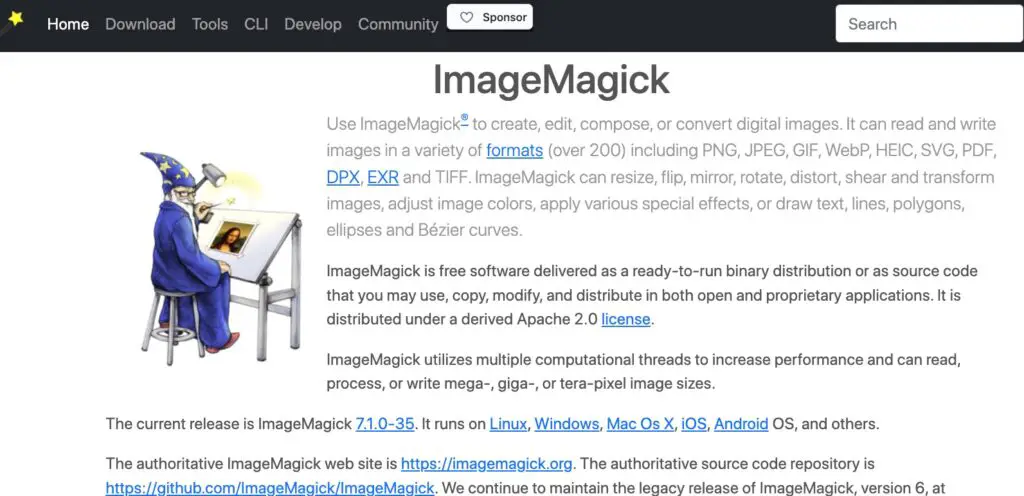
It is a free and powerful image processing program with many command-line features. One of the evident purposes of using a command-line program such as Image Magick to process images is the efficiency and low computer resource to perform these tasks quickly, even with complex parameters that graphical apps may not be capable of yet.
Image processing with ImageMagick is very fast e.g. in seconds or less. This is beneficial to those whose computers are slow or overloaded.
How to install ImageMagick?
Depending on your operating system, ImageMagick offers different ways to install it.
For example with Mac OSX, run these two lines of codes from the terminal, the second one should run only after the first one has finished. This may take quite a while to complete.
brew install imagemagick
brew install ghostscript
After installation, there are a few commands ready to use e.g ‘convert’, ‘montage’, ‘composite’, and ‘magick’.
How to convert images with Image Magick?
It is simple. Navigate to the same directory as the images in the terminal command line.
For example, the below line will convert the file from jpeg and output to a new png format file. There are over 200 supported formats including PNG, JPG, TIFF, GIF, etc.
$magick image.jpg image.pngHow to resize an image with Image Magick?
For example, the below command will reduce the size of the image.jpg by 50% and output to resized.jpg.
$magick image.jpg -resize 50% resized.jpgThe following will resize an image to 640 x 480 px if the image proportion is accurate or the image will be resized accordingly without stretching.
magick image.jpg -resize 640x480 resized.jpgHow to grayscale an image with ImageMagick?
This command will grayscale image.jpg to an output file.
magick image.jpg -colorspace gray output.jpg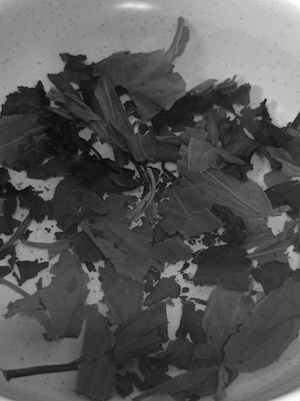
How to modify or add a sketch or pencil effect to an image?
This artistic filter effect can be interesting to digital artists and designers.
magick image.jpg -edge 3 -negate output.jpg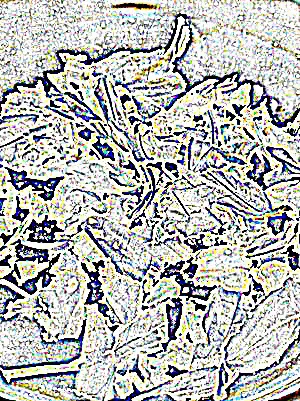
How to create patterns with ImageMagick?
We can easily create patterns for our various designs and images as well. It is quite a cool feature. There are dozens of patterns that we can create we use. Bear in mind these patterns will create new files and not apply to existing images.
For example, this will create a brick pattern file with the name bricks.jpg of the dimension 640 x 480 px. And the following is a vertical saw pattern.
magick -size 640x480 pattern:bricks bricks.jpg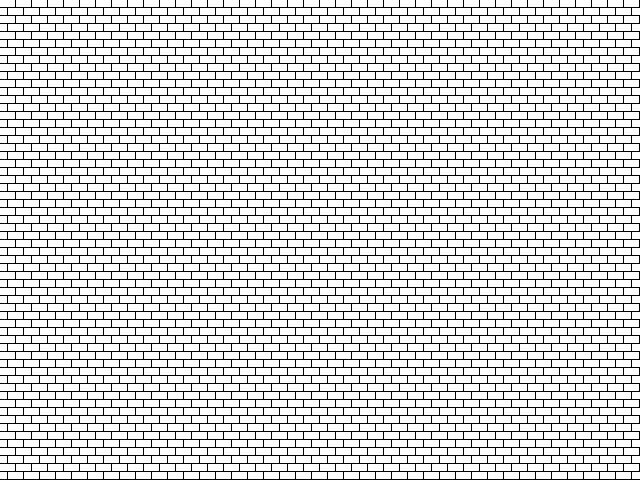
magick -size 640x480 pattern:verticalsaw verticalsaw.jpg
Other patterns that might be of interest include GRAY50, HEXAGONS, HS_HORIZONTAL, HS_CROSS, CROSSHATCH, LEFT45, CIRCLES, etc.
How to display images with ImageMagick?
This display command may help to display an image with ImageMagick.
$magick display image.jpg If your Mac does not support it like mine, an alternative to display an image and play video from the command line is ffplay (an FFmpeg tool).
$ffplay image.jpg
How to compose or mask images with ImageMagick?
This command is probably the simplest without any parameters. It takes the first image as the masking for the third image, and the second image is the background. For simplicity’s sake, all three images are of the same size e.g. 250 x 250 px.
$composite Wood.jpg Leaves.jpg logo.png Composed.jpg
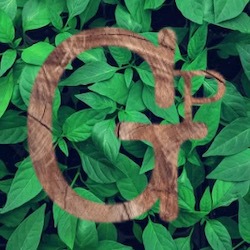
Different image sizes for input may result in unexpected results.
How to create image patterns or tiles with ImageMagick?
This command will repeat the base image and output a portrait-sized image. The ‘wizard:’ and ‘netscape:’ parameters are just an ImageMagick built-in image that we use for convenience’s sake. This base image is 50 x 50 px in this example. Reduce this size to achieve a more populated pattern image.

$composite -tile base.jpg wizard: portrait.jpg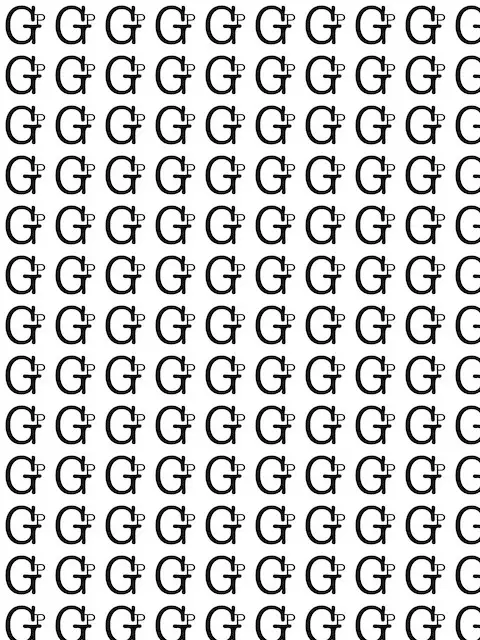
$composite -tile base.jpg netscape: landscape.jpg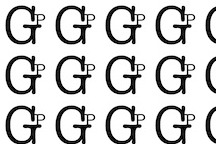
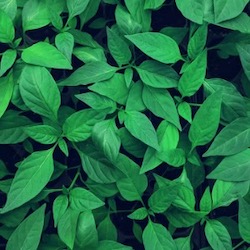
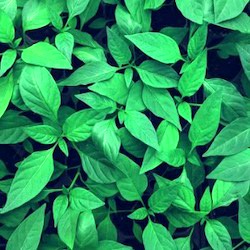
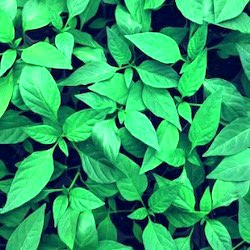
How to lighten or brighten up an image with ImageMagick?
This command will brighten or normalize a dark image. Feel free to repeat the same command on the output image to enhance the brightness.
$convert Leaves.jpg -normalize Brightened.jpg
How to blur an image with ImageMagick?
This command will blur an image with an intensity of 0x2.
$convert Wood.jpg -blur 0x2 Blurred.jpg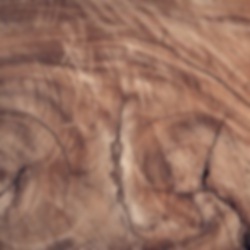
How to watermark with ImageMagick?
This command will apply the logo file with 100% opacity and position south onto an image file to produce a new output file named watermarked.jpg.
$composite -watermark 100 -gravity south logo.png image.jpg watermarked.jpg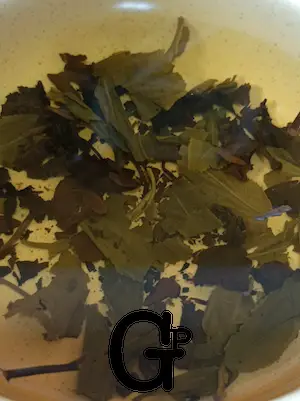
How to merge images with ImageMagick?
This is an example of merging 2 images (image1.jpg and image2.jpg) with a 50/50 ratio dissolve effect and centering the second image to produce a greyscaled merged file.
$convert image1.jpg image2.jpg -compose dissolve -define compose:args='50,50' -gravity center -composite Merged.jpg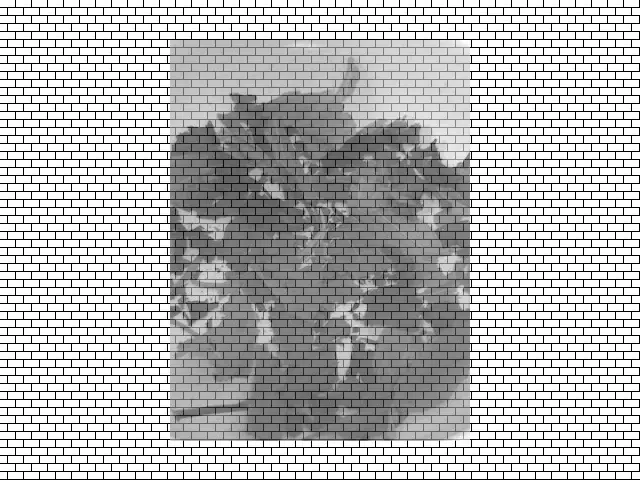
How to montage images with ImageMagick?
This command will line up all the jpeg files in that directory into a single montage image.
$montage *.jpg montaged.jpg
Bonus
How to compress image file size by reducing quality?
This is another way to reduce a file size other than resizing. Reducing quality may not mean the image will definitely look much blurry or low quality. It may look indifferent to the naked eye. You will have to test for yourself to see how it turns out. The below simple command (learned from here) only has a few parameters to specify.
convert input_image_file.jpg -quality 75 output_image_file.jpgCompressing or reducing image file size can be an important factor especially when it comes to video production.
One example reduction I had was from 24.6Mb to 2.1Mb only, an approximate 91.46% reduction! In my case, the resultant quality is acceptable for my purpose.
Alternatively with the newer version as learned from here:
magick input_file.jpg -strip -interlace Plane -gaussian-blur 0.05 -quality 85% Output_file.jpg
Do not worry about the gaussian blur effect, the result is not noticeable (to me) at all. You may test with only the quality option specified. The compression is perhaps about 11% of the original size. The conversion for one image is almost instantaneous or impressively fast i.e. 1 second or less?
Conclusion
This post is meant to bring some quick value to any readers with some image processing or designing needs. Hopefully, this post has inspired and illustrated the potential of this powerful image software for your future uses and benefits.
ImageMagick is a powerful program that can do much more than illustrated here. Please feel free to explore more with experience.
For free and powerful videos files manipulation, please take a look at How To Convert, Loop & Compress Videos Free Without Watermarks.
Be wholesome.
More Information
How to find out the Image Magick’s version?
$magick --version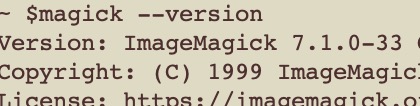
Is there a program to batch convert images?
Please check out How To Batch Convert Images Sizes In Mac Fast.