Creating impactful 3D extruded text may be a good or lucrative skill to learn e.g. T-shirts merchandise designs that appeal to people.

How to create good 3D extruded text (Affinity Designer)
- Add text (T)
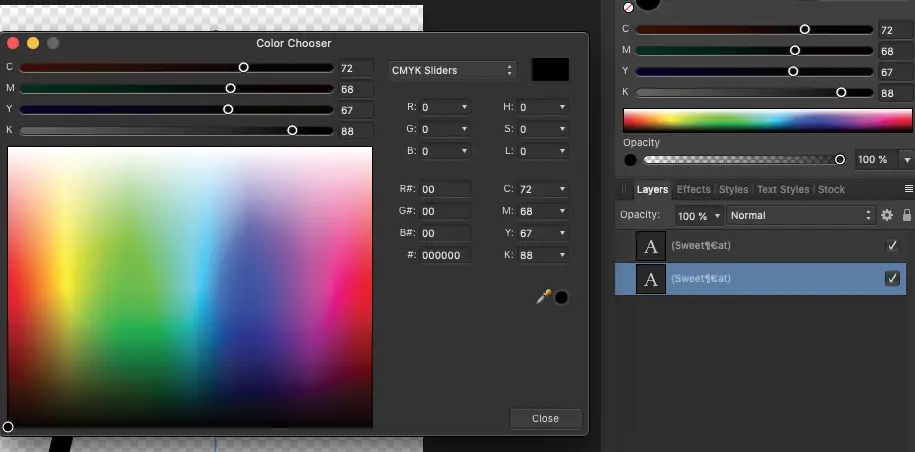
- Duplicate the layer with CMD+j and change the color of the duplicated layer
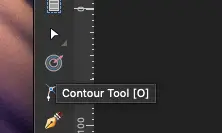
- Select Contour Tool
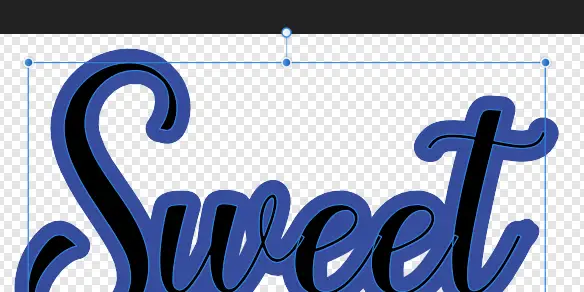
- Click and drag to adjust the big white dot above the text for the desired contour effect of the duplicated layer
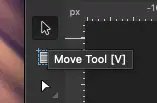
- Click the Move Tool (V)
- With the second layer still selected, press Shift without releasing and type down and right arrows a few times
- Repeat duplicating the bottom layer, changing the color, moving the layer
- Optionally, touch up by applying an effect to the original text layer e.g. Effects->Bevel/Emboss->Settings-> Type->Outer
- Optionally, click the Move Tool for the text layer and convert to curves, and modify with the Nodes Tool the nodes of the individual letters curve objects under the new group layer created
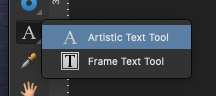
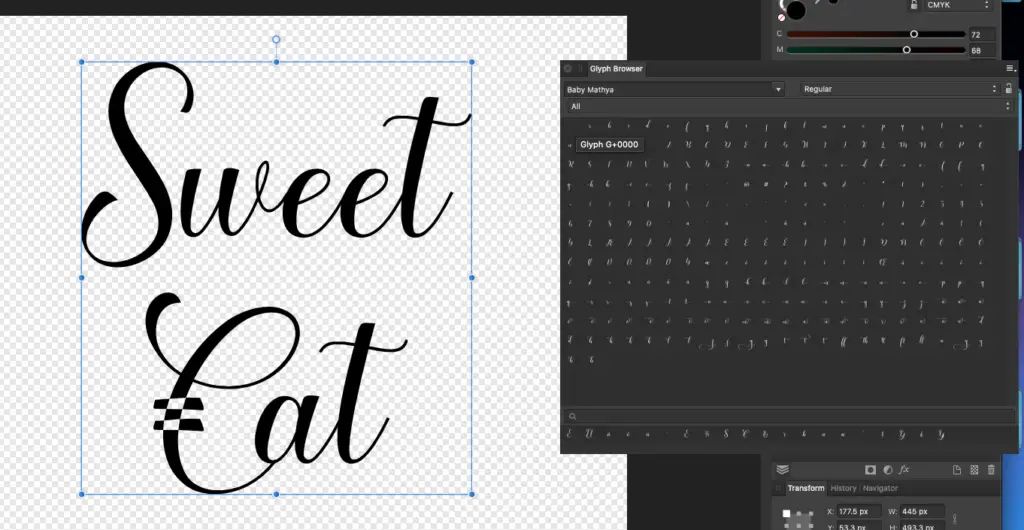
Optionally, we may enhance some letters in the word with the character (a) function or the Glyph Browser as shown below.
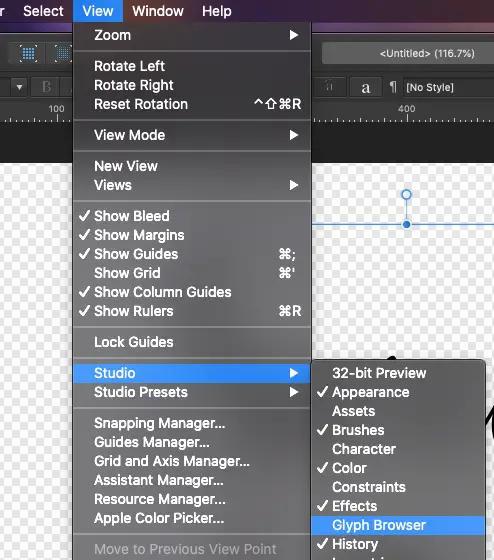
Optionally, we may also mix and match different fonts and characters in Glyph Browser with a more unique effect
Next click the Move Tool or press ESC and press V for the shortcut.
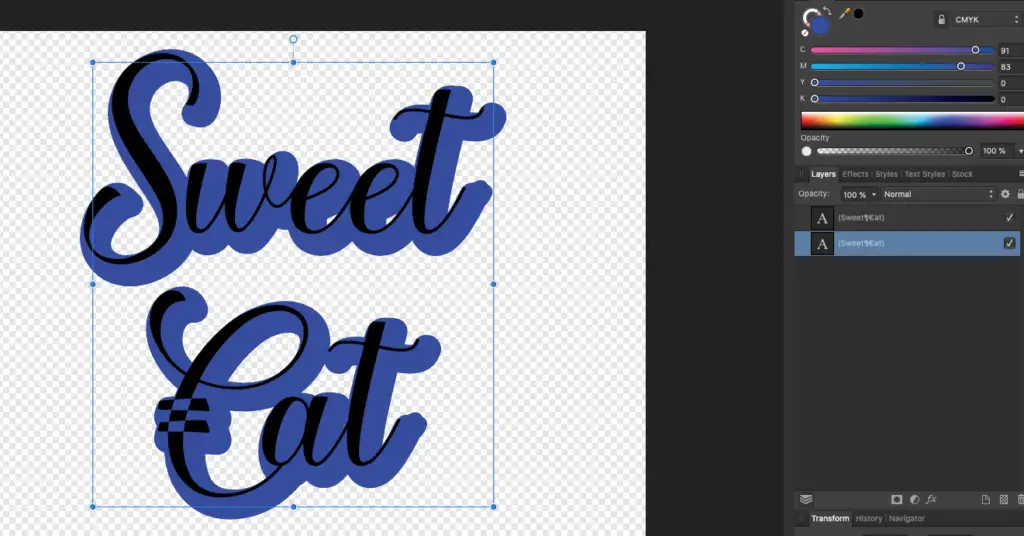
Now we are ready to keep repeating the above steps by duplicating the bottom layer, changing the color, and moving it. We may repeat it 3 more times.

If you like the effect right now, you may stop here. Or continue on to make a little more modification. For example, Bevels / Emboss effect may be added to the original first text layer.


How to modify each letter of the text in Affinity Designer?
Click Move Tool-> Convert to curves (top-right) will change all the text to a group of letters objects. Click Node Tool (A) on the left, select the letter in the layer and modify the nodes accordingly.
Clicking and dragging the individual nodes can apply a unique touch to the design.
Conclusion
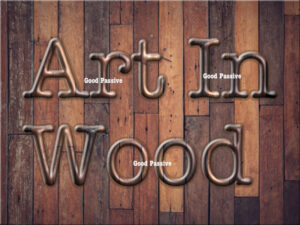
Extruded 3D text can be an interesting effect that looks like a multi-layer cake. It can also be applied to both vintage and modern styles. It can be a specialized skill that an artist can further develop for a store with similar styles.
A good advantage of extruded 3D text designs is that they may add significant value to free stock photos to be sold as merchandise.
Hopefully, the above tutorial or guide has given you some ideas and inspirations for your next Affinity Designer art project.

Be wholesome.
More Information
Are there more resources for making text stand out?
Good Easy Text Wood Engraving Effect In Affinity Designer
5 Ways To Make Text Standout With Affinity Designer
Is there a good Blender 3D courses (including 3D text) for beginners?

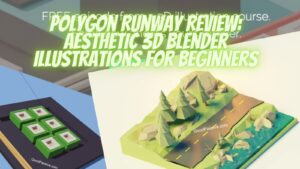
Polygon Runway Review: Aesthetic 3D Blender Illustrations For Beginners