This post is meant for Affinity Designerbeginners. Many of the photo effects on YouTube are done in Affinity Photo, but Affinity Designer can also be a powerful editor for some basic photos effect as well.
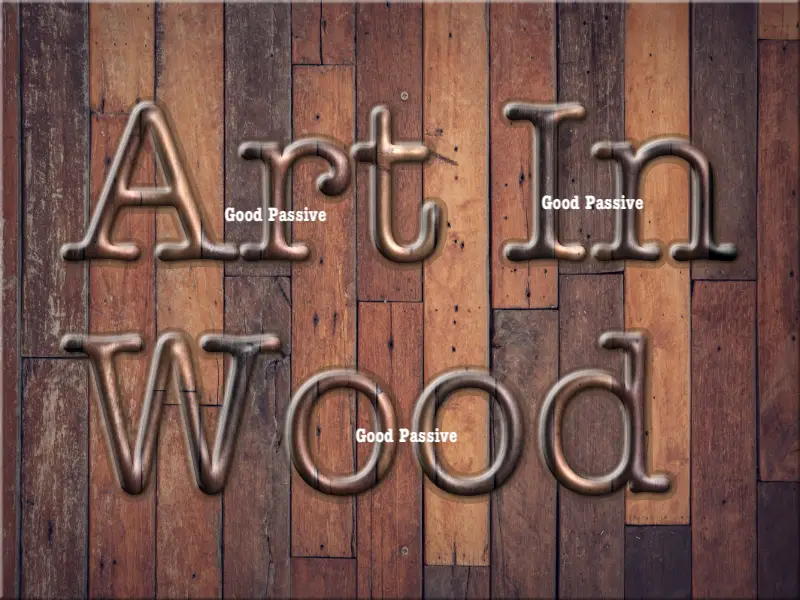
Good easy text wood engraving effect in Affinity Designer
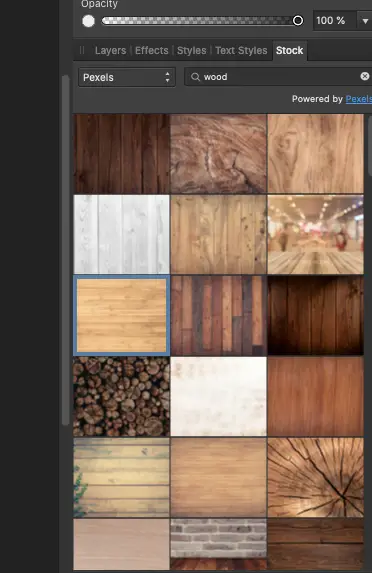
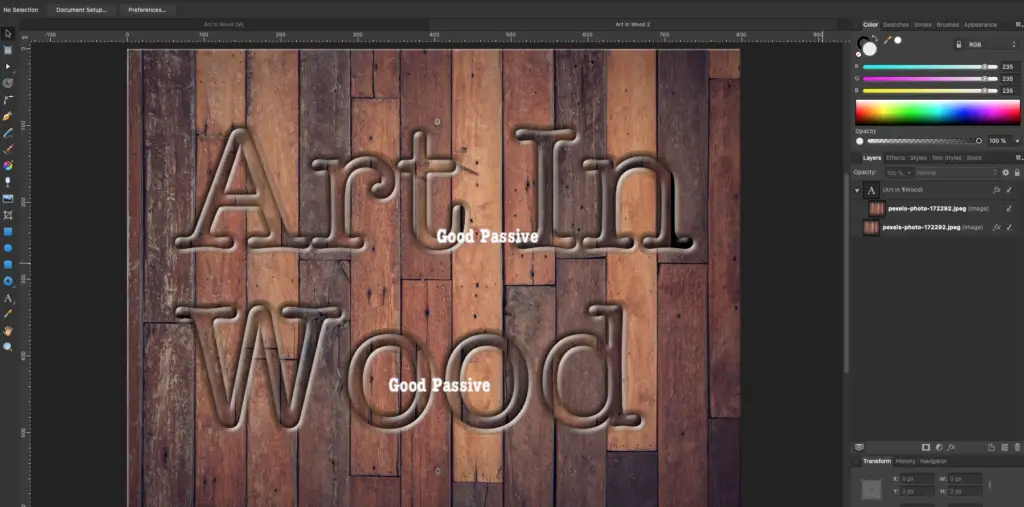
- Import or select a good wood texture photo from Affinity Designer Stock photos
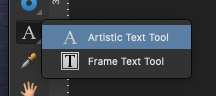
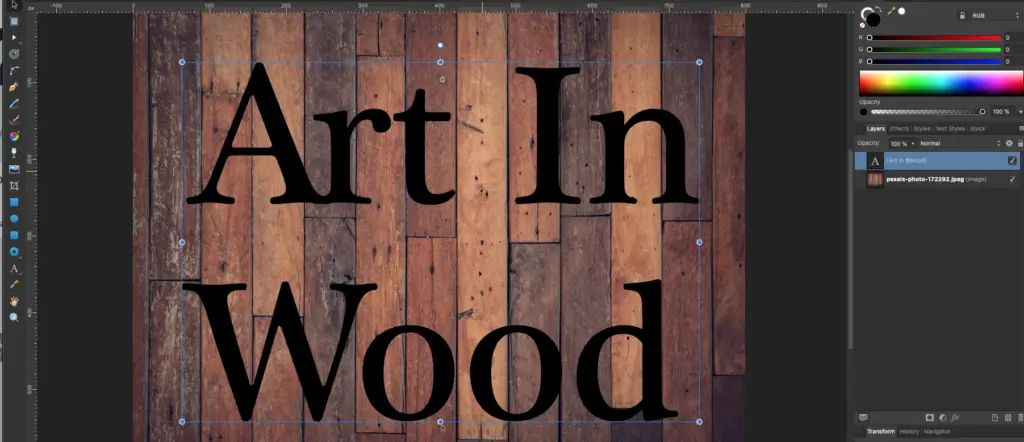
- Write some text with the Artistic Text Tool over the photo background
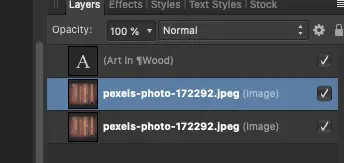
- Duplicate the photo background e.g. Select the photo layer and press CMD+j
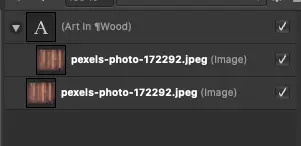
- Drag one of the photo layers and put it under the text layer (it will appear indented)
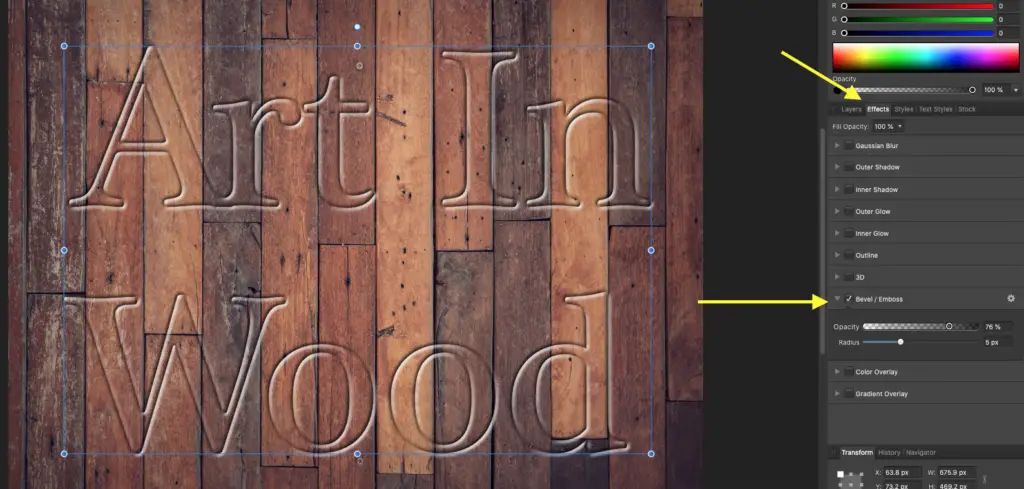
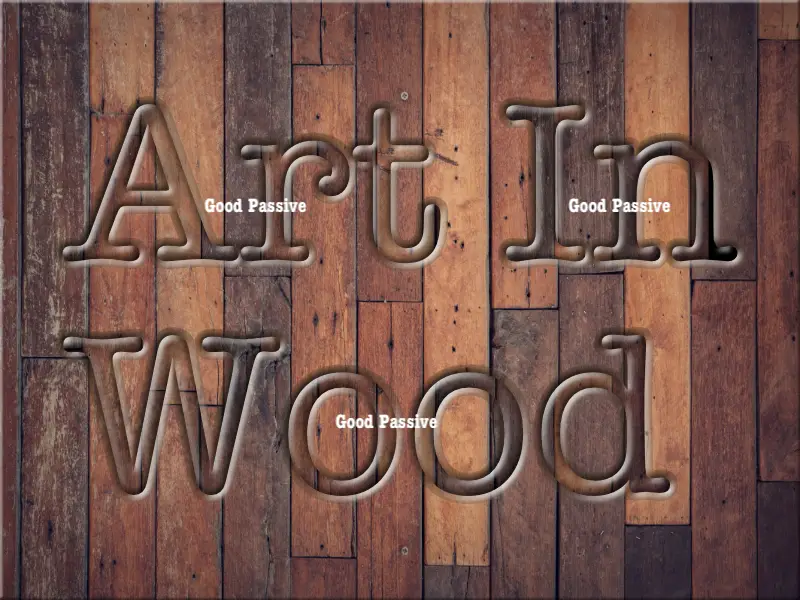
- With the text layer selected, go to Effect tab (next to the layter tab), and enable Bevel/Emboss effect
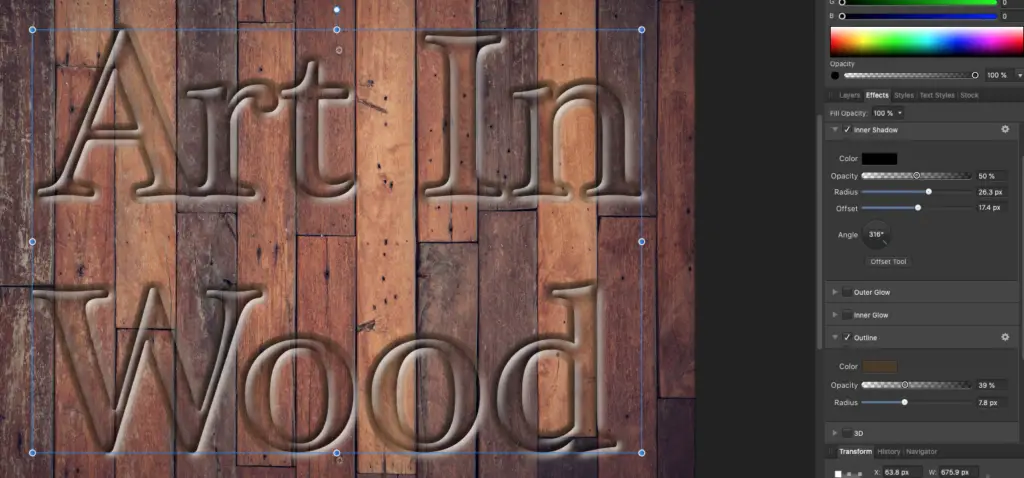
- Explore Inner Shadow and Outline Effects as well (optional)
- Explore Bevel or Emboss Settings for Pillow (default), Emboss, Inner, and Outer types settings (optional)
- Explore another font, move the photo layer under the text layer, and finetune the text alignment and size (optional)
Note: These steps should also be applicable to textures other than wood.
Why learn how to engrave text in wood effect?
Wood engraving is a traditional form of printmaking. It has an elegant visual effect for viewers with a natural feel for nature.

Conclusion
We can perform easy and powerful transformations and create professional artwork with Affinity Designer. Dragging images under the text layer (indented) may enhance the visual value of the text.
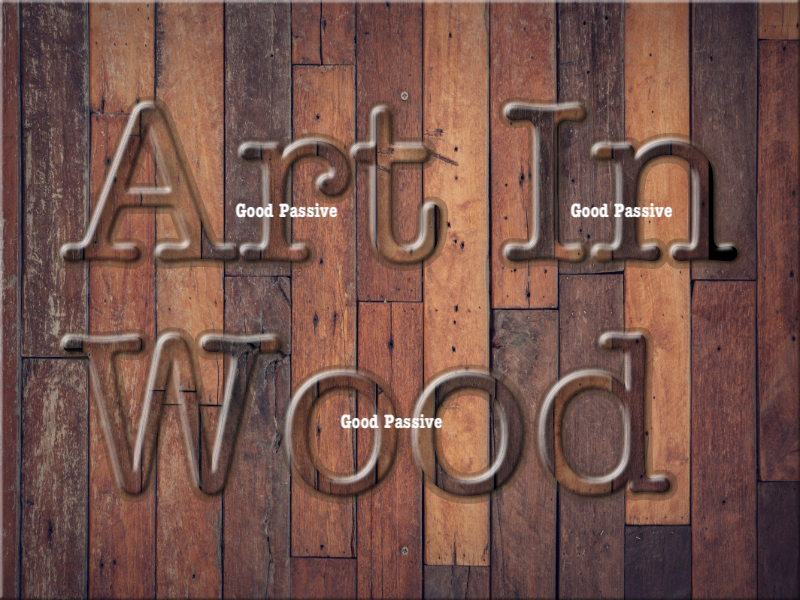
Another example is the 3D effect when applied to the above artwork, it presents a different and smoother feel to the emboss text.
More Information
Are there other ways to make text stand out in Affinity Designer?
5 Ways To Make Text Standout With Affinity Designer
Where to find out more information about photos from stock photos sites for commercial use?
Please read under related information here.