Creating patterns can be a hobby and a specialized skill for some artists. A design may look simple but when repeated in a pattern it can result in a different and unexpected outlook and feel. Another advantage of pattern design is to help perform creative transformative work on certain images with conditions so they can be used commercially.
How to create good patterns easily in Affinity Designer
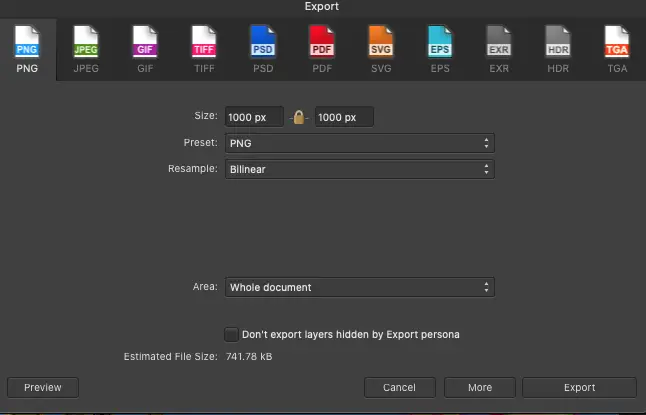
- Create a custom size e.g. 1000 x 1000 pixel Affinity Designer document
- Start adding some shapes and text (or any other designs you prefer)
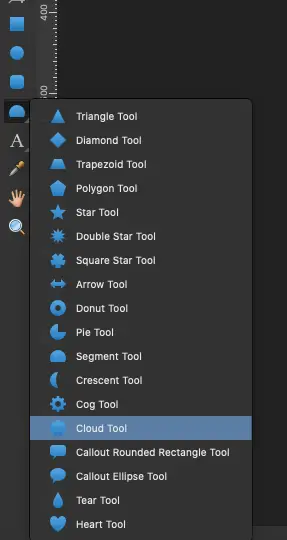
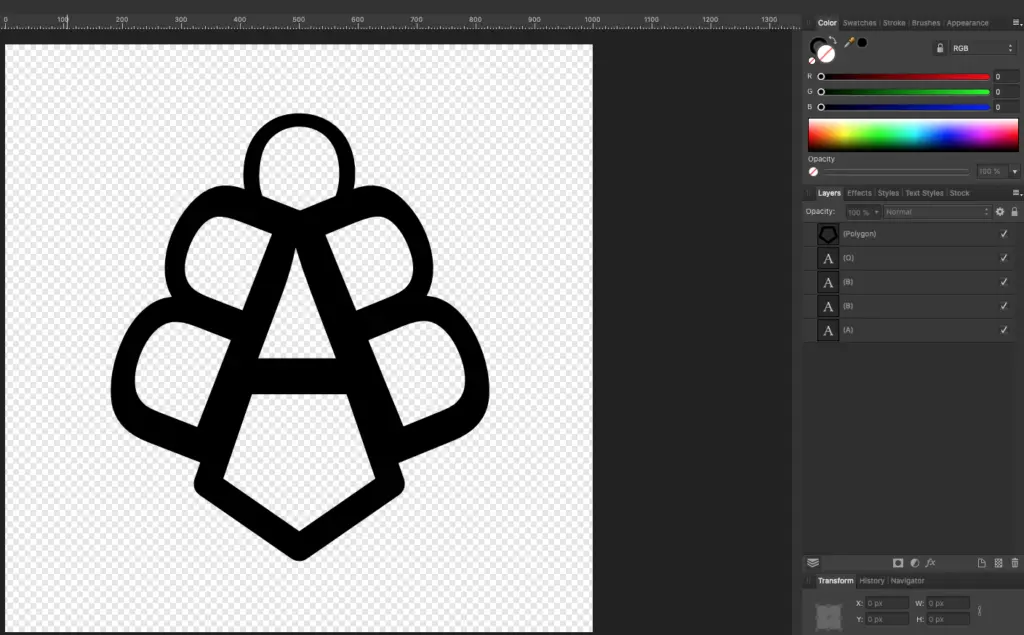
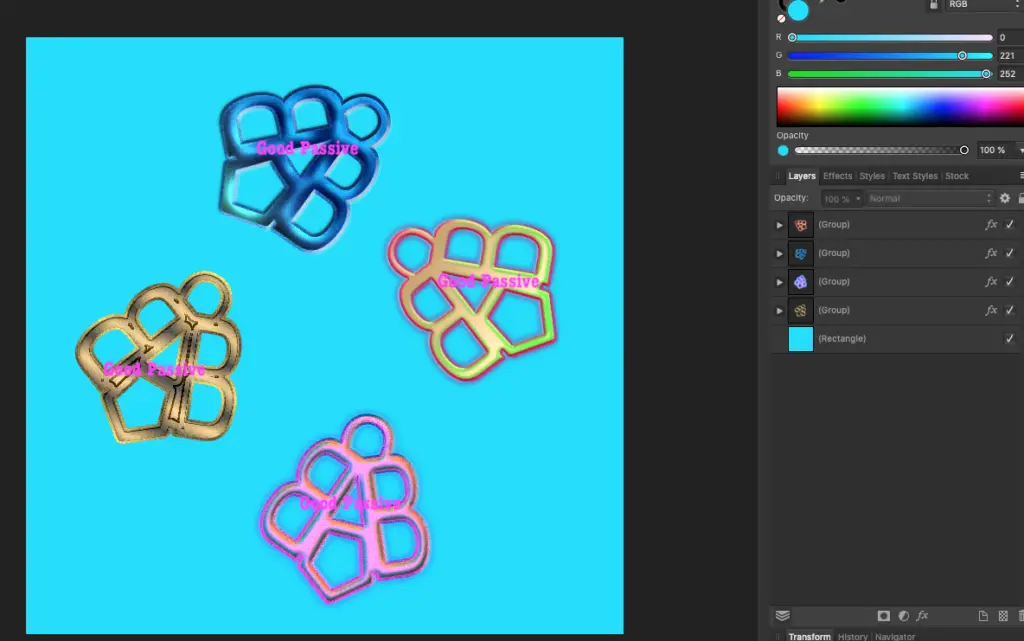
- Create a simple design e.g. alphabets, shapes, styles
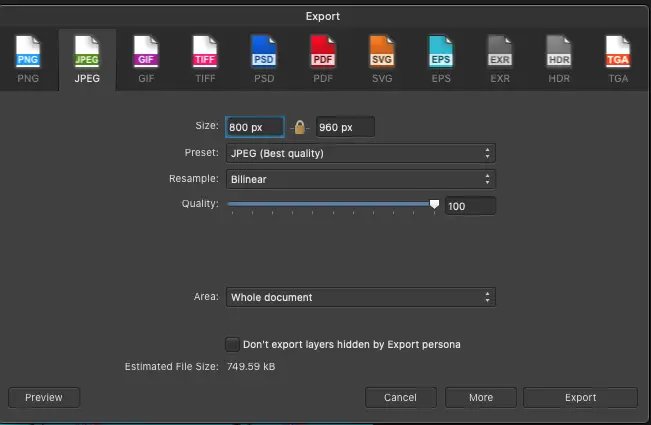
- Export this pattern base design as a PNG format
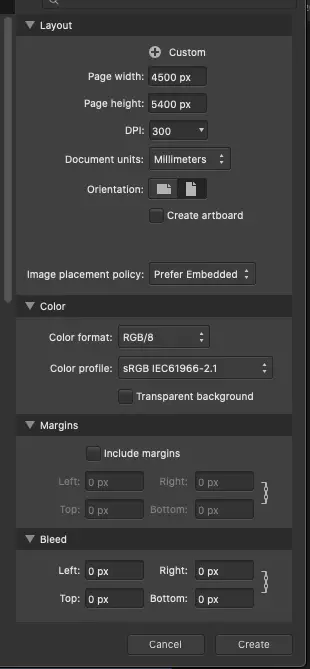
- Create a new full-sized canvas document e.g. 4500 x 5400 pixels
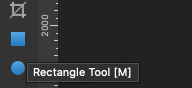
- Select Rectangle Tool and cover the whole canvas with a rectangle e.g. white background
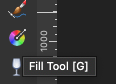
- Select the Fill Tool
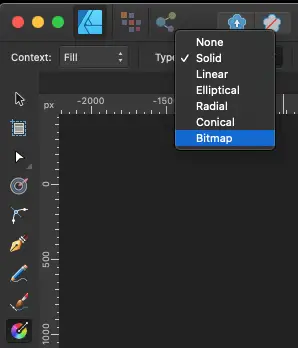
- Fill Tool -> Type Bitmap and select the PNG pattern file that was created earlier
- Start adjusting with the Fill Tool nodes
- Export final pattern to JPG format
Below patterns may not be the best out there, but they should serve as a tutorial or illustrate the potential to create better pattern designs.
Tip: At this point, whatever shapes you create from Shape Tool will be filled with that pattern. This may potentially spin-off more creative ideas for artwork.

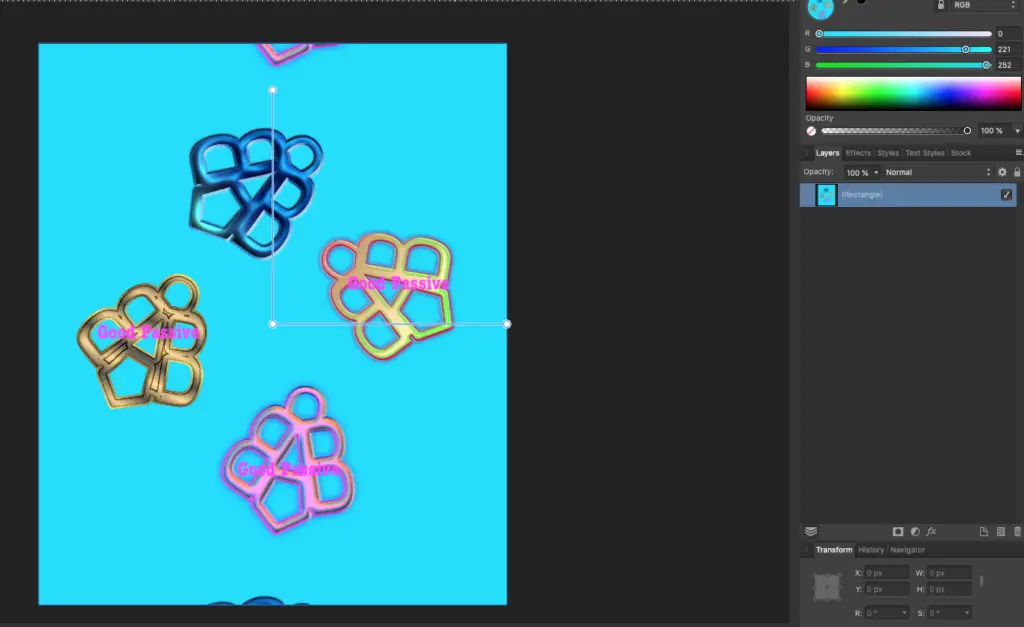
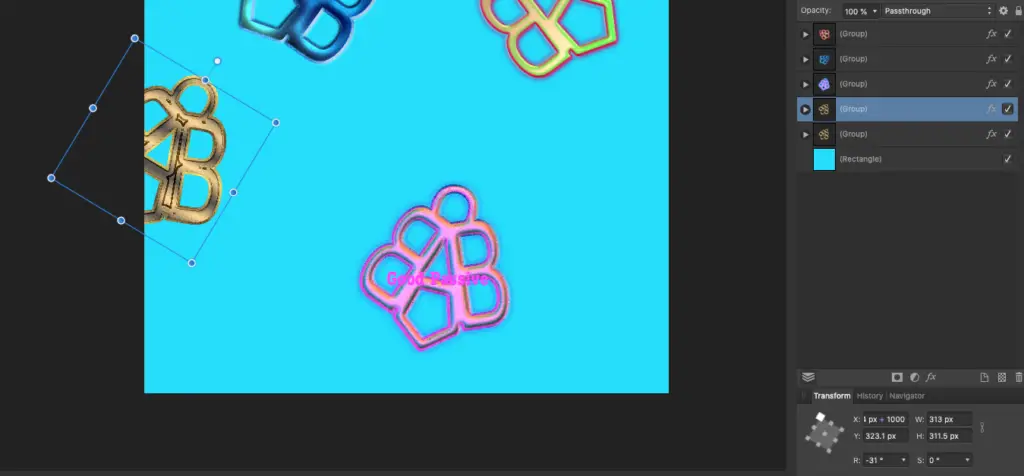
How to create a seamless pattern with logos or designs that were cut off or truncated at the canvas edge?
For example, we have this incomplete logo that was truncated at the canvas edge but we want it to be seamlessly repeated in a pattern.
Say, for example, we want to make the logo on the left to be repeated seamlessly.
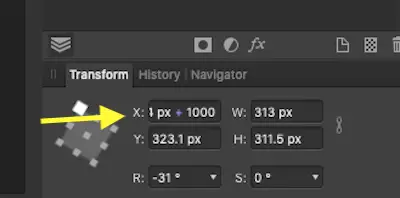
Duplicate that logo layer with CMD+J. Then add 1000 px in X (horizontal) or Y (vertical) accordingly to join pattern design that was cutoff or truncated at the canvas edge.
Tip: Avoid making things overly complicated by cutting off logos or designs at the corners.


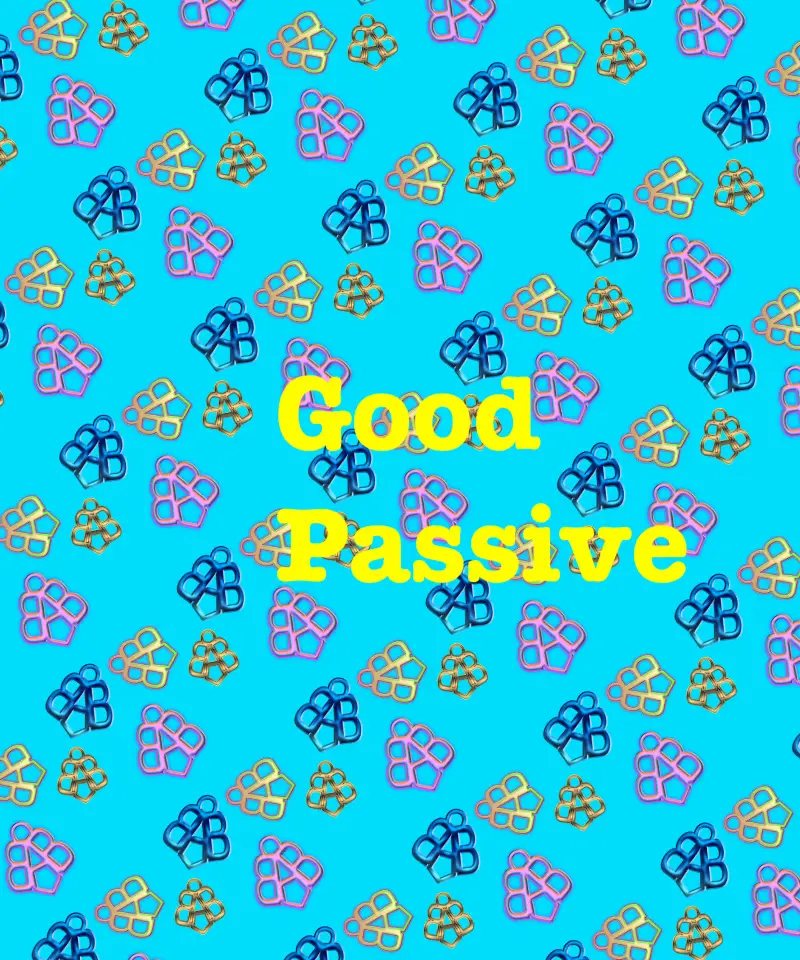
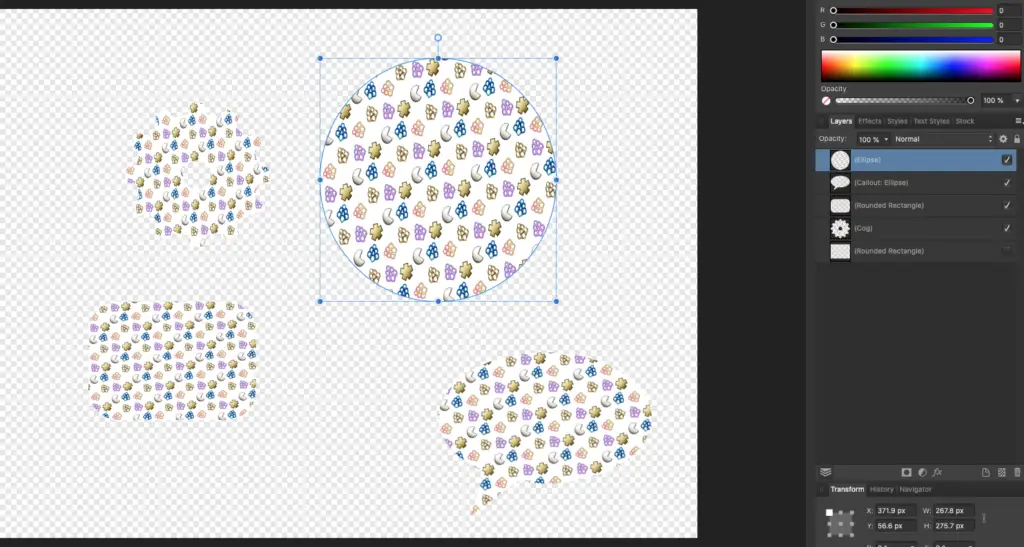
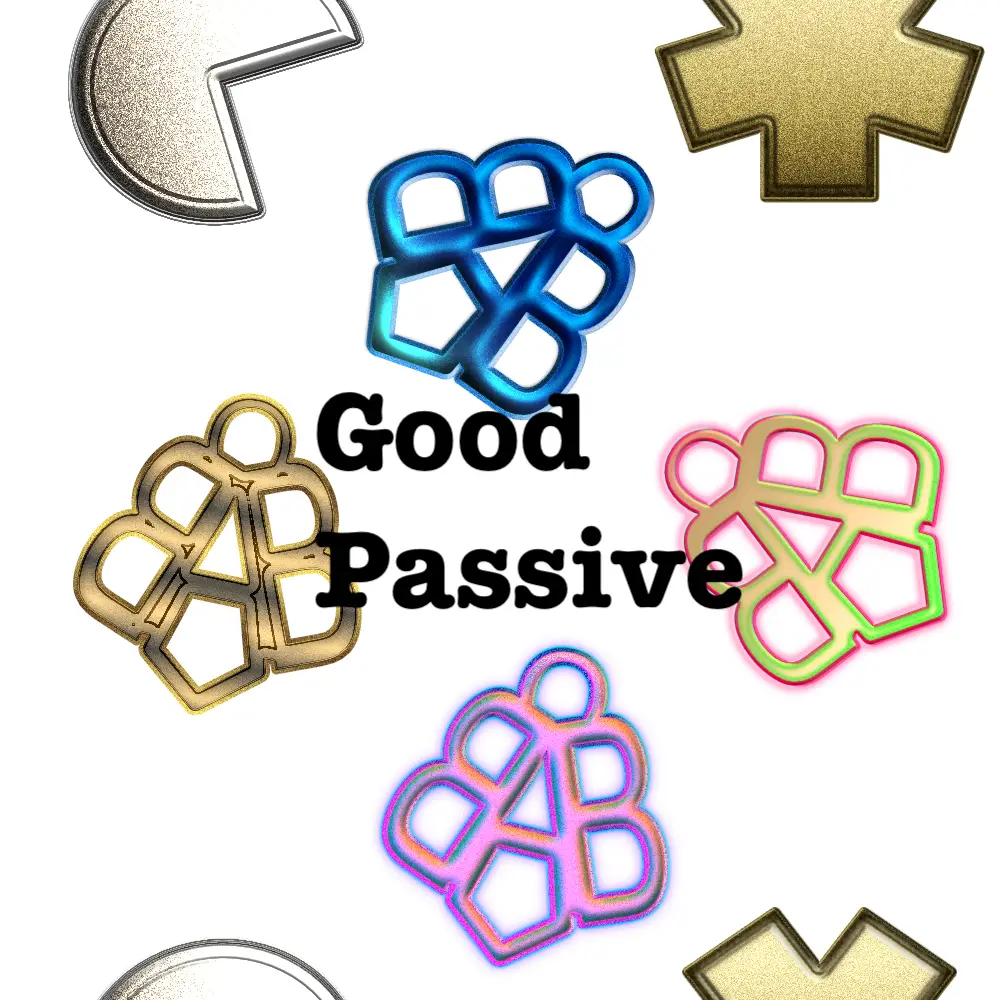
Here is another of a pattern base and the pattern created.
Why create patterns in Affinity Designer?
Affinity Designer is a powerful, affordable, and stable vector editor that can create designs with ease, and creating patterns is just one of the tools that work in tandem with other features.
Creating a pattern from an image with the Fill Tool on Affinity Designer is just a few clicks away.
Conclusion
Patterns can be an interesting hobby and skill to acquire for artwork and create unique designs. With Affinity designer, this is easily achieved by first creating the pattern base PNG file, then importing that file with the Fill Tool->Type->Bitmap, and adjusting accordingly. Various shapes filled with the pattern base are possible after being imported as Bitmap as well.
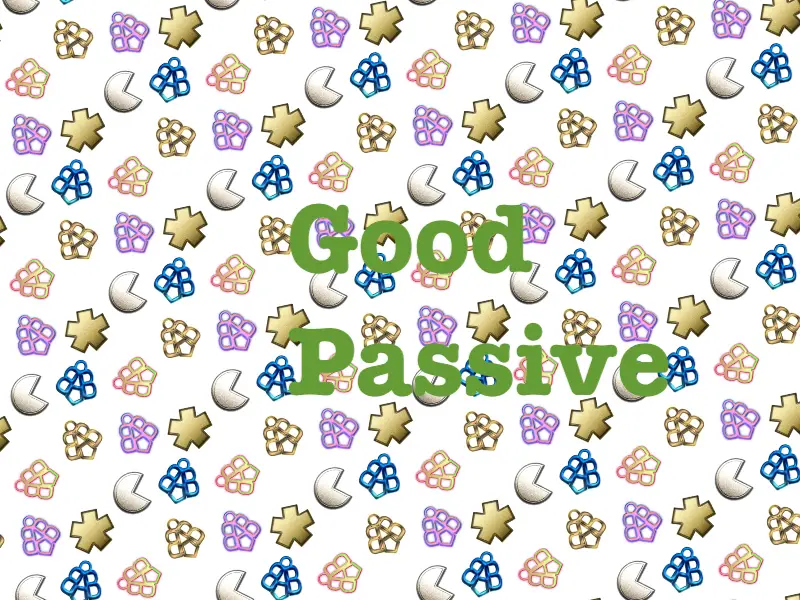
With the pattern created, we can also drag it under text for a unique texture as below.

Hopefully, this post has given you some good ideas on how to come out with some creative patterns designs.
Be wholesome.
More Information
Why I cannot move objects or get simple things done in Affinity Designer?
One reason may be that you have not selected the correct Tool on the left and the right layer on the right. Beginners may need time and patience to get familiar with basic first. Press ESC first and then V or T e.g. Move Tool (V), Text Tool (T), and check if the layer to modify is selected or not.
What other interesting effects can be done with Affinity Designer?
You may wish to read: