Affinity Designer beginners may be interested to remove background images without Affinity Photo. It can even be done with a good professional-looking result.
How to remove photo background in Affinity Designer
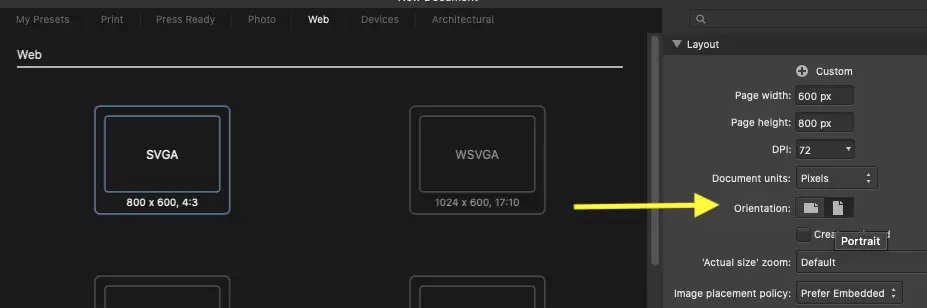
- Create a suitable Affinity Designer canvas size e.g. portrait or landscape orientation according to the photo with CMD+n
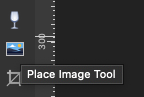
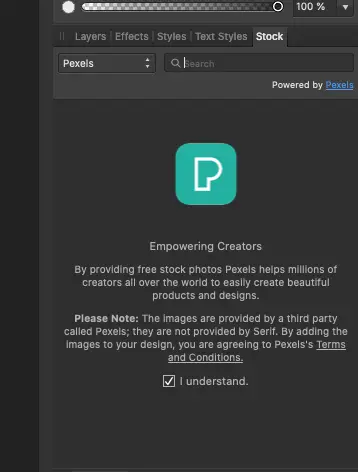
- Place Image Tool or click and drag photo into canvas or import with Affinity Designer Stock Photo tab
- Easily adjust photo size to fit or cover canvas with Transform, Align, and click-and-drag the edges
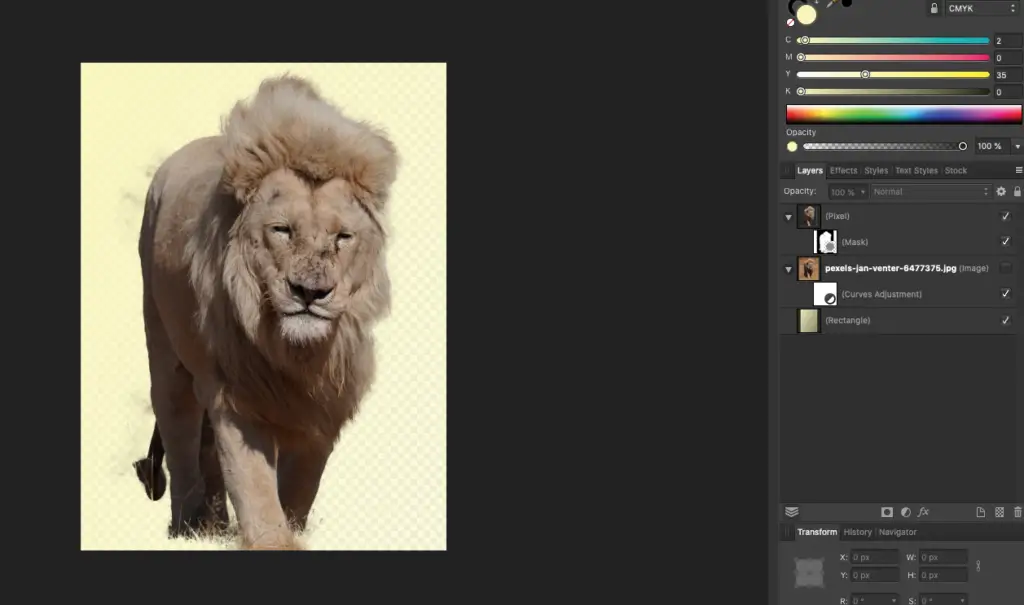
- Enable Pixel Persona mode
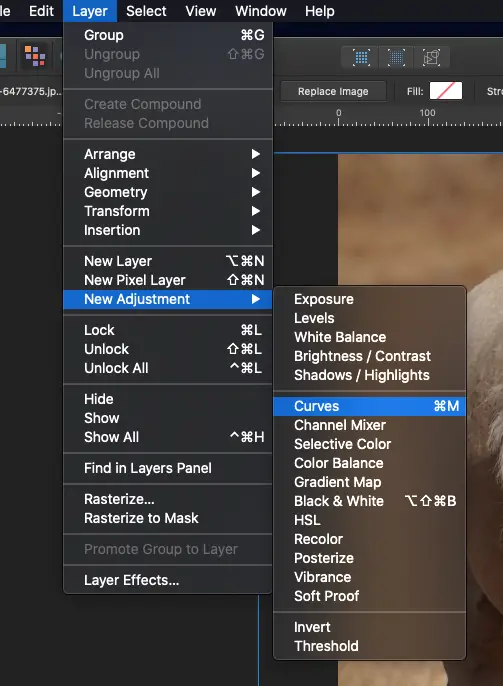
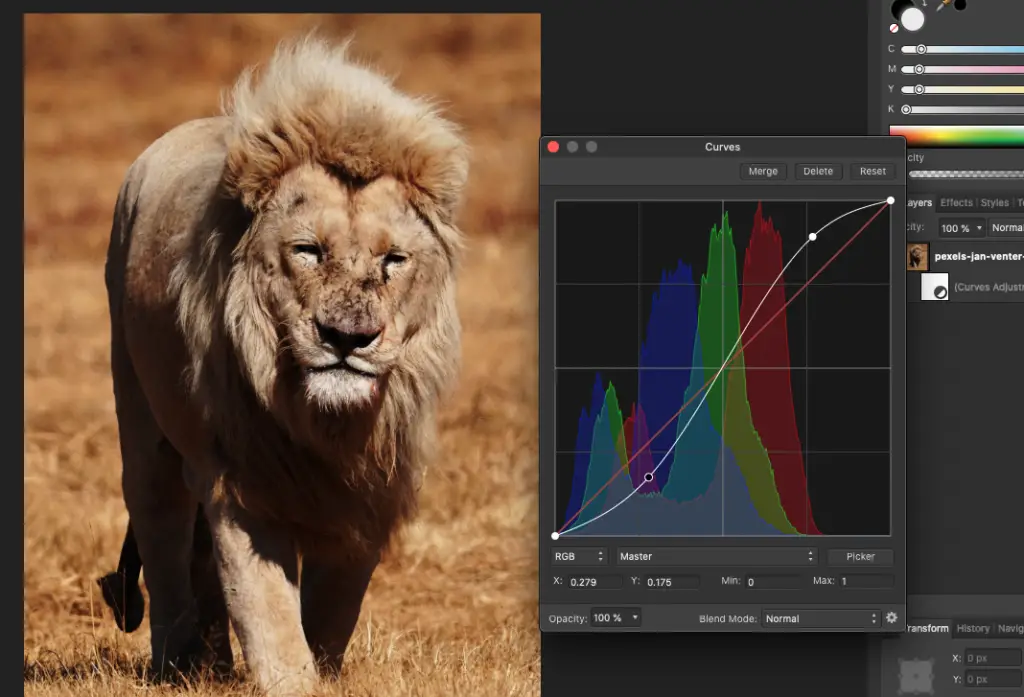
- Navigate to Layer->New Adjustment->Curves or press CMD+m to make image darker
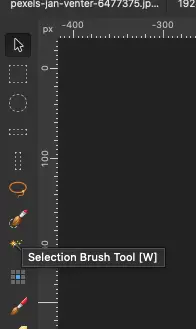
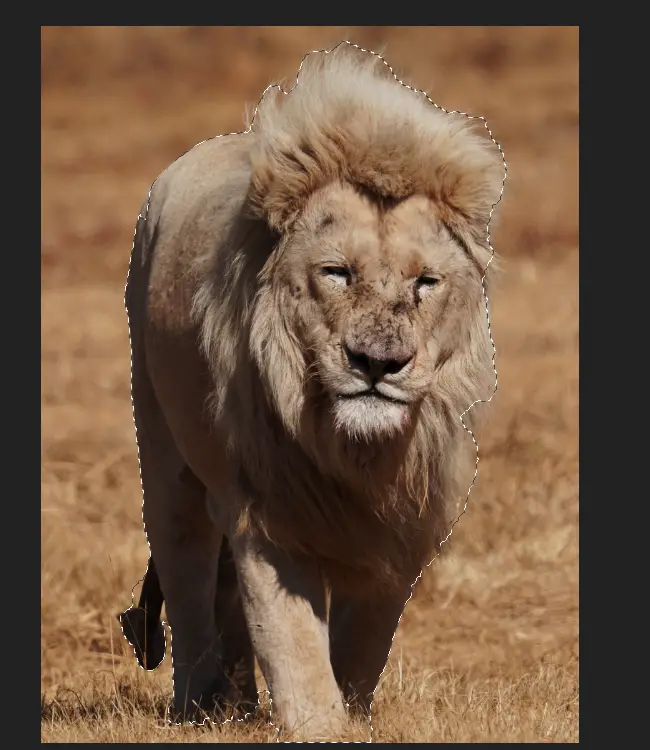
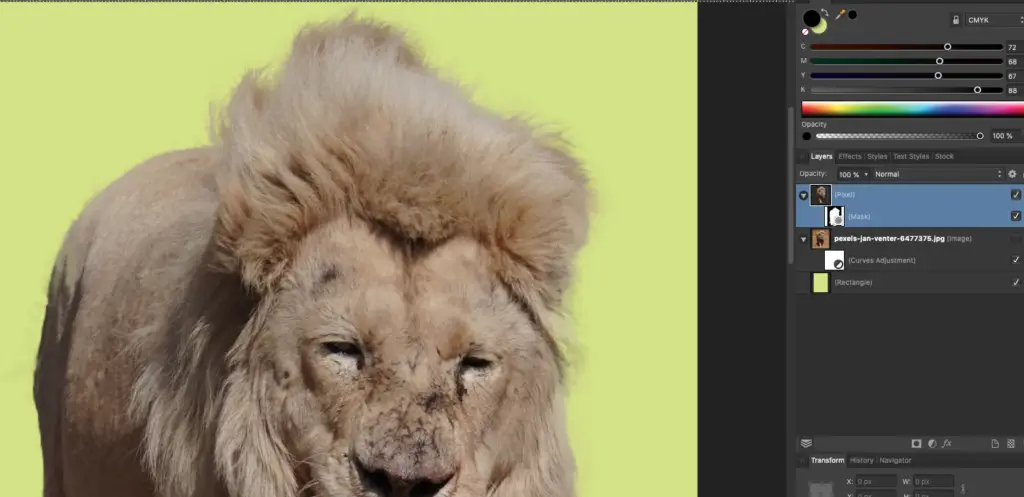
- With the image layer still selected, click Selection Brush Tool (W) on the left and start selecting the area that you want to keep. Press square brackets [ and ] to adjust brush size
- Once the selection is finished (do not need to be perfect), click Refine on top.
- Click and drag with a large brush size around the outer edges of the selection over the fine details so Affinity Designer can furthur refine automatically
- In Refine Selection window, select New Layer With Mask in Output, and click apply
Create a suitable Affinity Designer canvas size e.g. portrait or landscape orientation according to the photo with CMD+n.
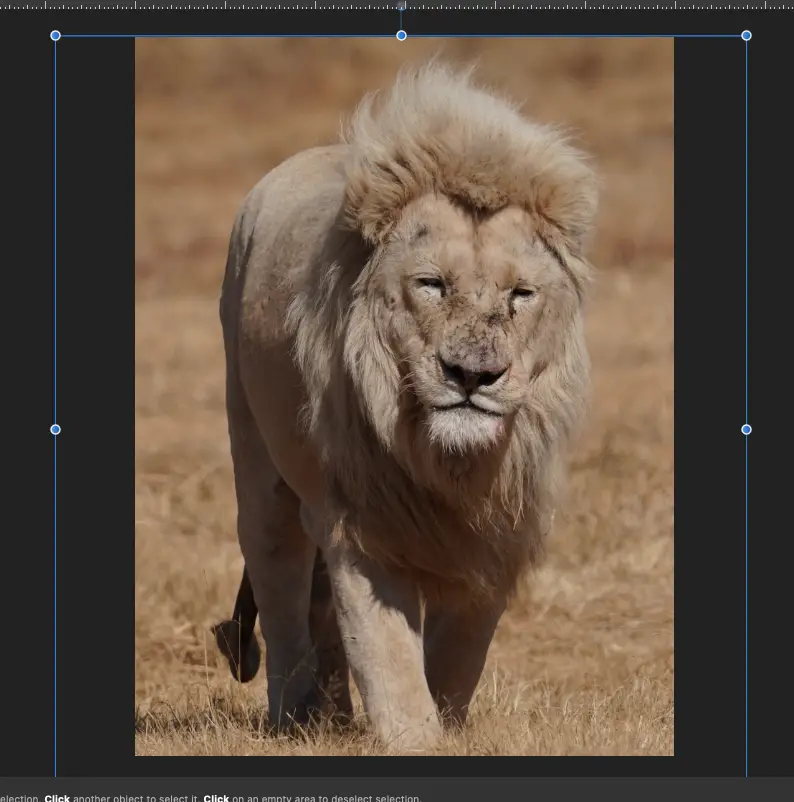
Place Image Tool or click and drag the photo into canvas or import with Affinity Designer Stock Photo tab.
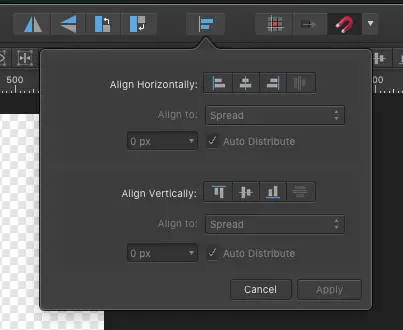
Easily adjust photo size to fit or cover the canvas with Transform, Align, and click-and-drag the edges.
Enable Pixel Persona mode.
Navigate to Layer->New Adjustment->Curves or press CMD+m to make the image darker.
With the image layer still selected, click Selection Brush Tool (W) on the left and start selecting the area that you want to keep. Press square brackets [ and ] to adjust brush size
Once the selection is finished (do not need to be perfect), click Refine on top.
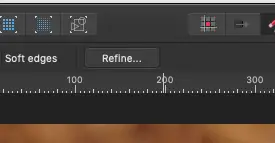
Click and drag with a large brush size around the outer edges of the selection over the fine details so Affinity Designer can further refine automatically.
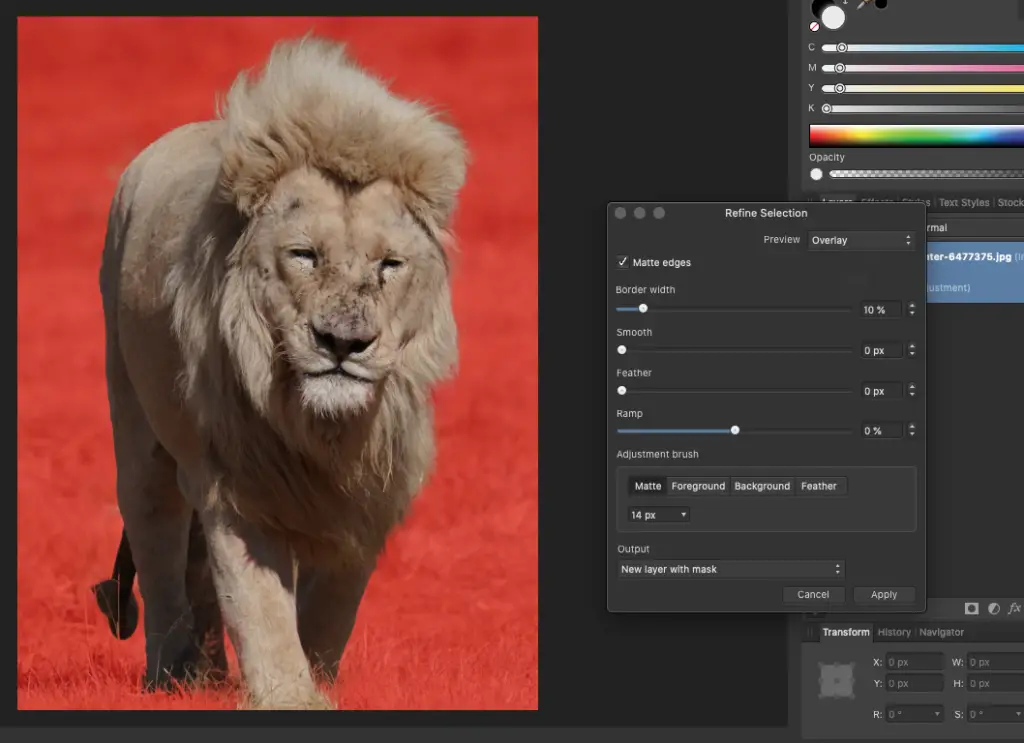
In Refine Selection window, select New Layer With Mask in Output, and click apply.
Click the blue Designer Persona icon at the top, apply a colored rectangle, and drag that layer to the bottom as a new background (optional).
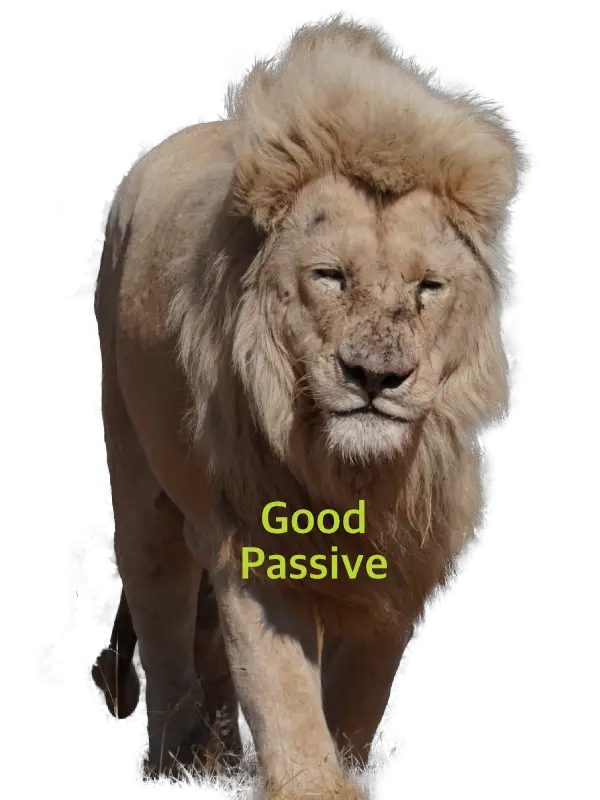
Notice the hair looks fine even when there is no fine tracing.
Here is the final version with a transparent background after some touchup. We can use the Eraser Tool in Pixel Persona to remove unwanted dark patches around the image.
Be sure to save a transparent background in PNG format for the transparent effect to work.
What are some free online tools to remove backgrounds quickly and easily?
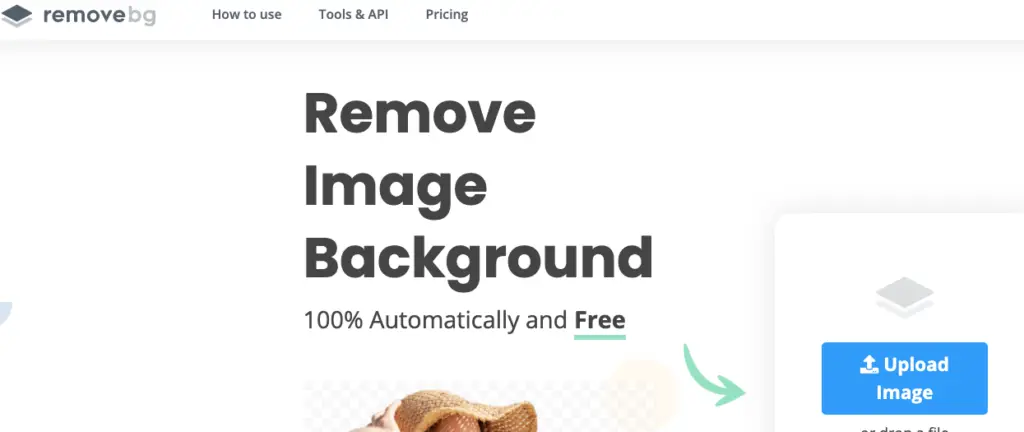
Remove.bg is a fast and free tool to remove backgrounds with ease. Just drag and drop the file to the website, and it may process it in just seconds ready for download. You may also edit it there to touch up dark patches if any. However, is only gives one free credit and subsequent use may cost about 20 cents per image.
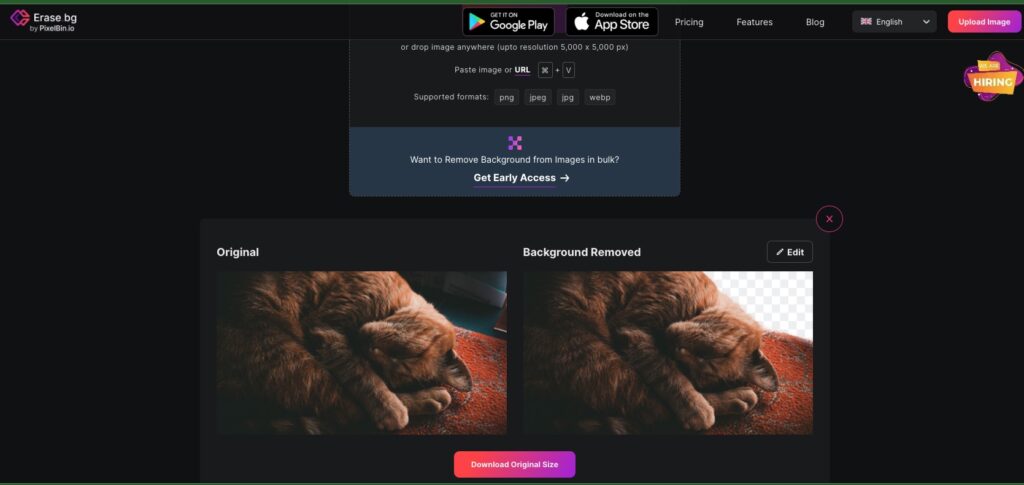
Erase.bg is another online background remover tool. It grants 50 images per month for free usage which should be enough for personal average use. From my limited experience, it seems to be a hit or miss in removing backgrounds. Below is an example.
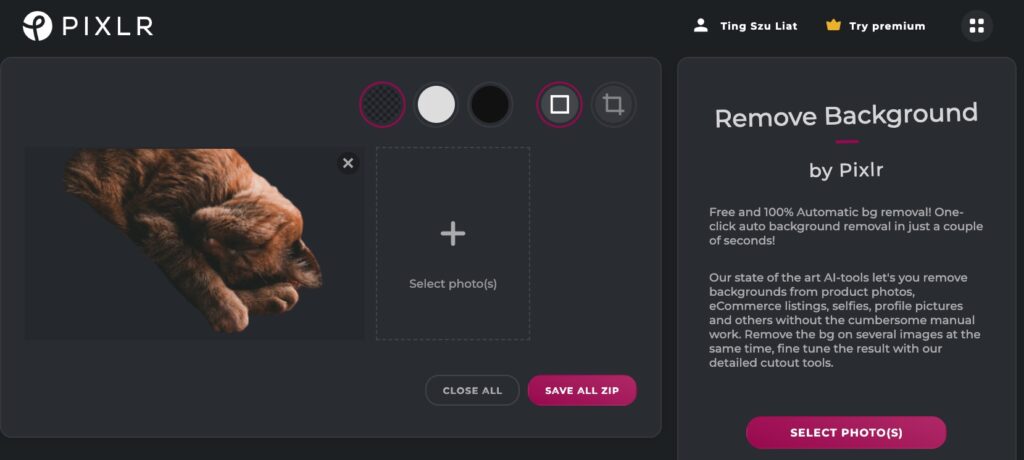
The third online resource tested is the powerful Pixlr online image editor. Pixlr has at least 2 free ways to remove backgrounds: Background removal webpage and the photo advanced editor for removing backgrounds. The webpage may not generate a full image for some reason as below but it does remove the background satisfactorily.
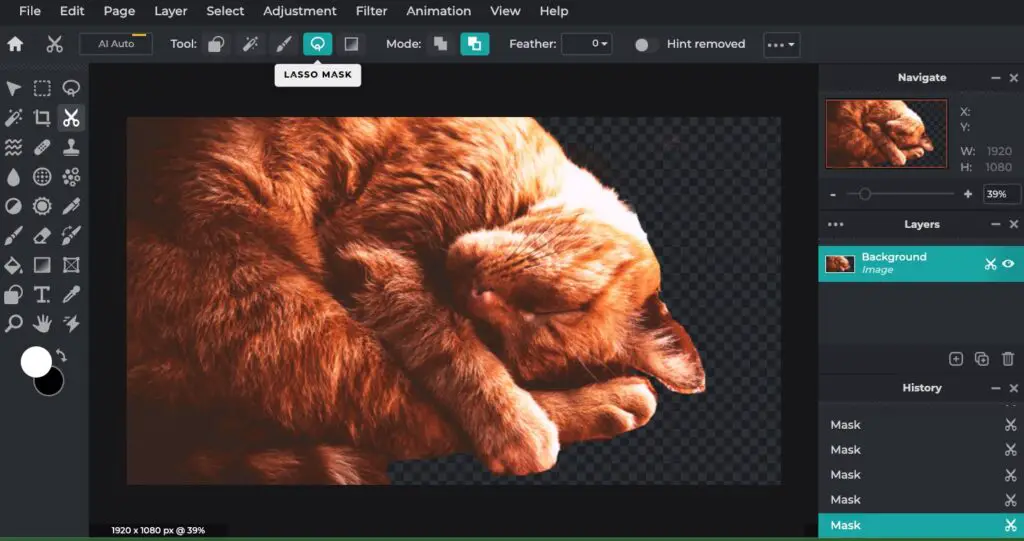
A better result can be achieved with the Photo Advanced Editor. I used the Lasso tool to manually mask away the unwanted backgrounds. While at it, I also applied some filters to fix up the photo’s dark lighting.
Pixlr also has an online design tool. It strikes me as a Canva alternative.
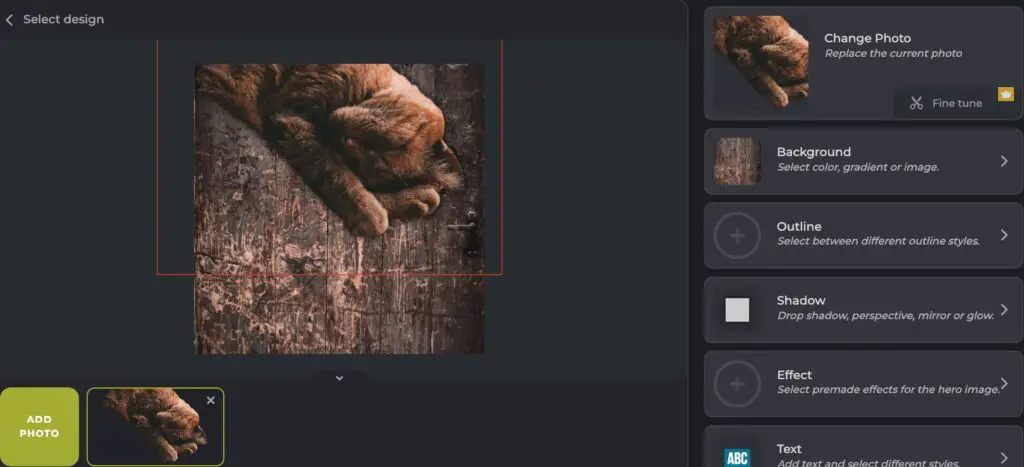
And Pixlr Photomash studio can replace or add a ready background from a selection. The photo uploaded will have the background removed automatically. Users just scroll around and choose the template background by clicking. An example of a selected wood background with more editing options is displayed below.
Conclusion
Removing a photo background is definitely a viable option in Affinity Designer. A better result may be yielded if a smaller brush is sized with fine-tuning of smooth, feather, and, ramp settings in refined selections. However, even an acceptable result can be achieved with an average to large Selection Brush Tool size of 25px to 65px.
There are free online tools that can help speed up or simplify background removals e.g. Remove.bg, Erase.bg, and Pixlr. The good result can be with Pixlr Lasso mask manual removal, particularly if you do not have a local graphic processing software like Affinity Designer or Photo.
Powerful photo editing can be done with Affinity Designer. Be sure to use it wisely for honest purposes.
Be wholesome.
More Information
Is there a free online tool to upscale an image without losing image quality?
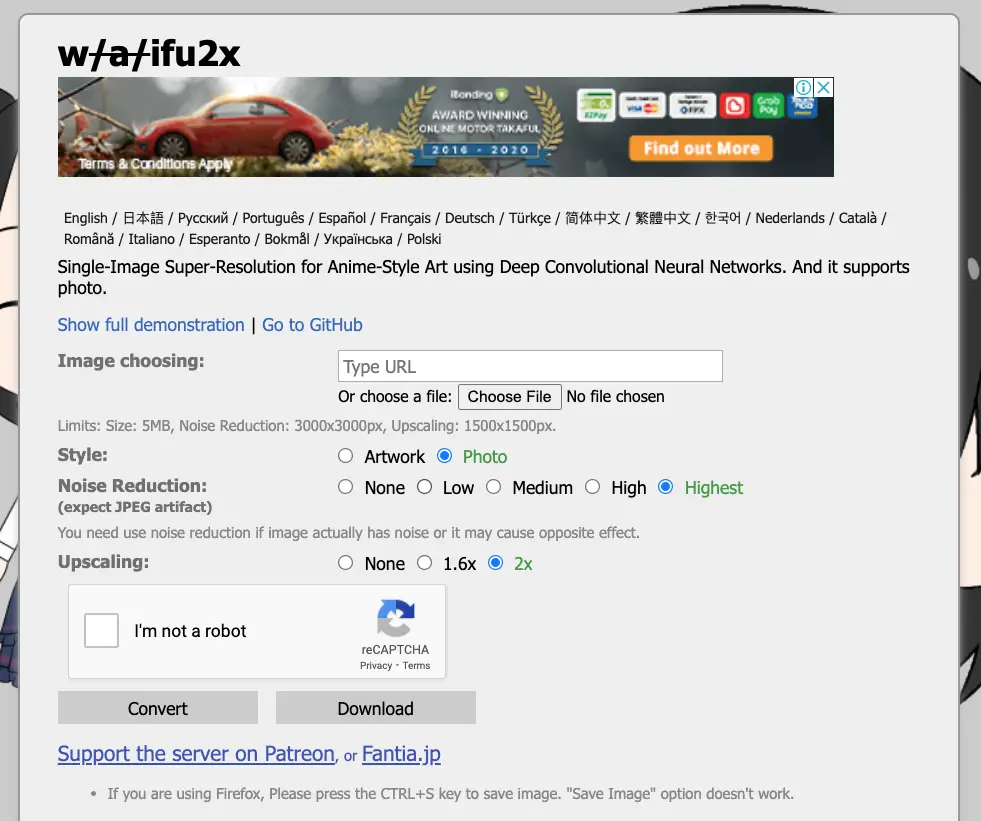
Waifu2x is a good free online tool that may help to upscale an image up to 2X while minimizing image quality loss.
Is there a good resource to make photos look like watercolor paintings?
Waterlogue: Create Good Beautiful Watercolor Art From Photos (Tested). Below is an example of a Waterlogue filter applied to an image.