After some mistakes with some domains, Cloudflare, and self-hosted WordPress setup, I think I finally understand how to get my hosting up and running with free SSL and domain security protection fast. These 3 easy steps can help any beginner save money and time in setting up new domains for WordPress with free SSL.
Depending on how fast you follow the steps, your WordPress site can be up in just minutes!
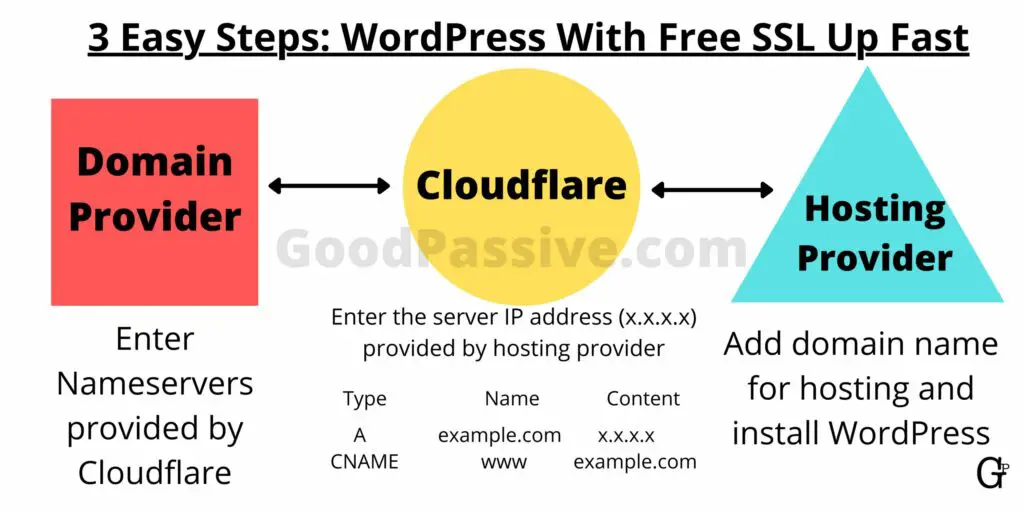
3 easy steps: WordPress with free SSL up fast
- Nameservers
- Cloudflare
- Hosting

Nameservers
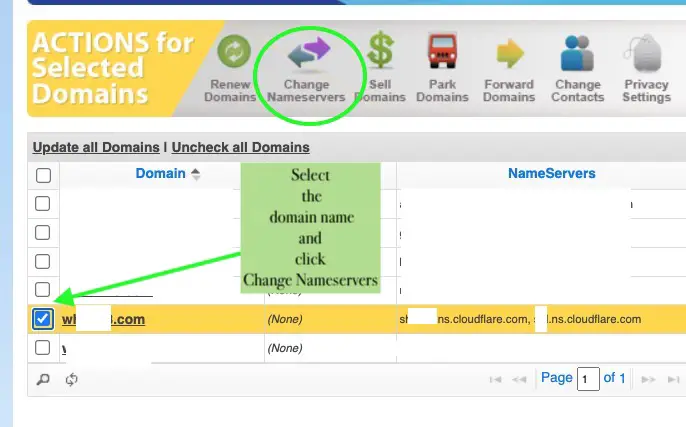
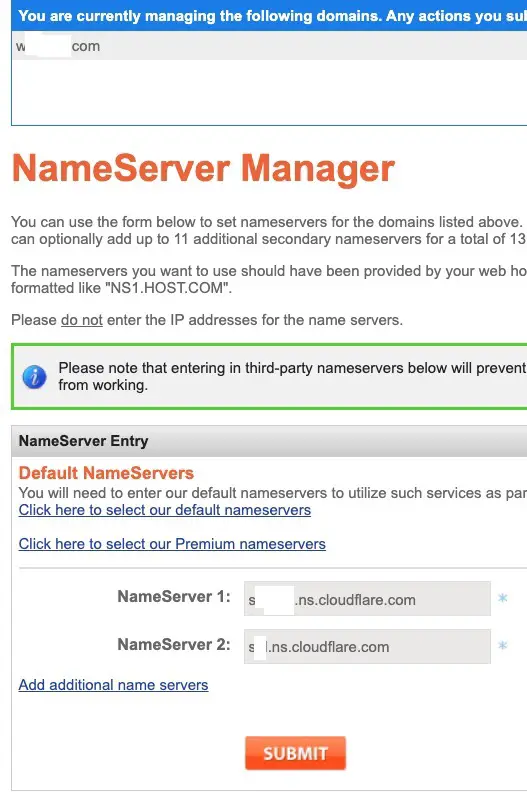
At your domain name provider or registrar (e.g. NameSilo, Namecheap), change the Nameservers to point to Cloudflare. We should not have to do anything else at the domain name provider after nameservers are set, all other DNS settings are done at Cloudflare henceforth.
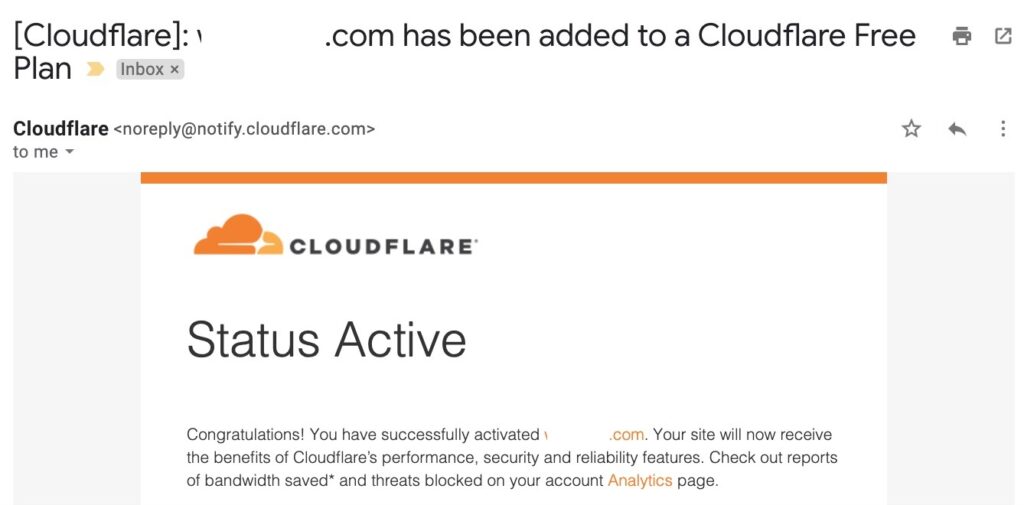
Only a few seconds or less for NameSilo to process new Cloudflare DNS and another few seconds for Cloudflare to successfully activate the website!
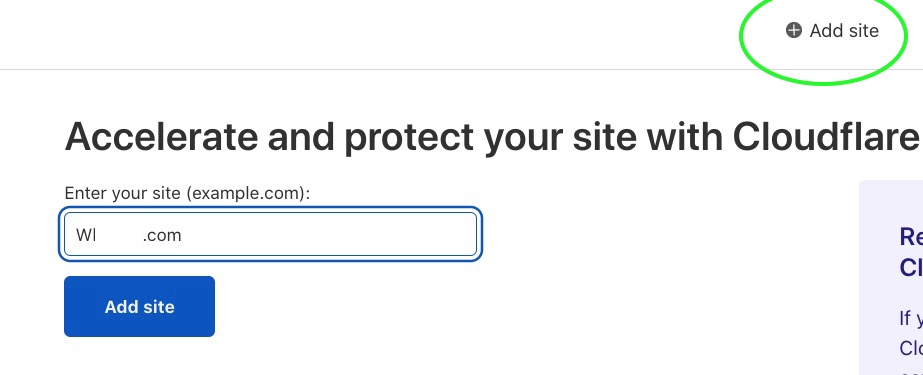
To enter the Cloudflare nameservers, we have to add the site at Cloudflare first.
Cloudflare
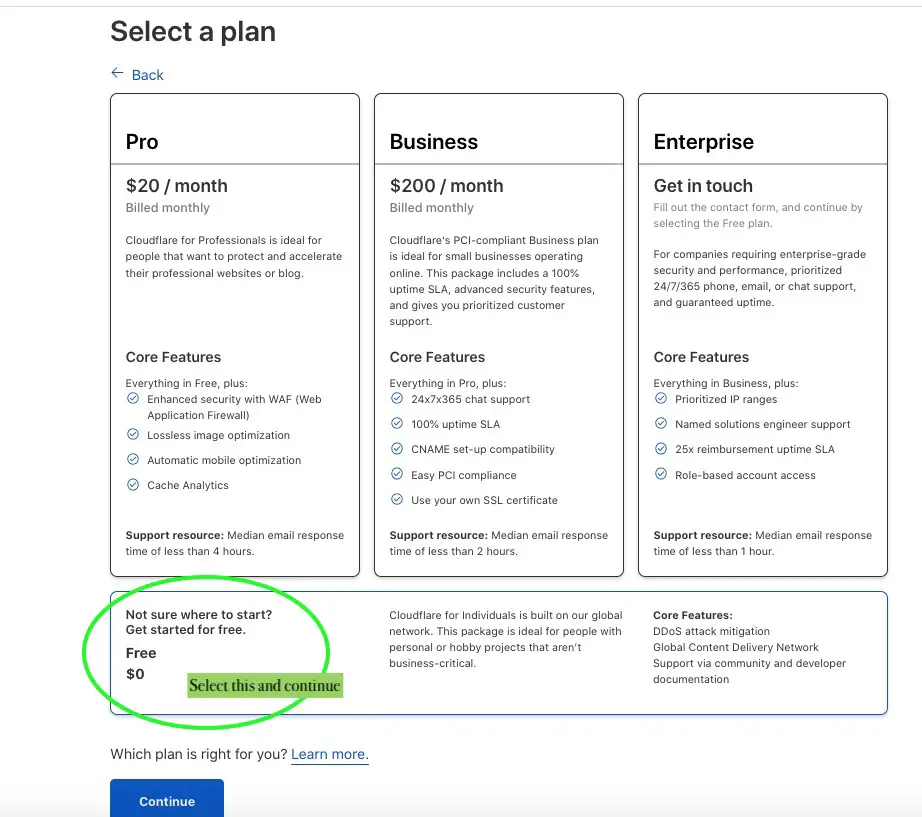
Sign up at Cloudflare for free and start to add your site.
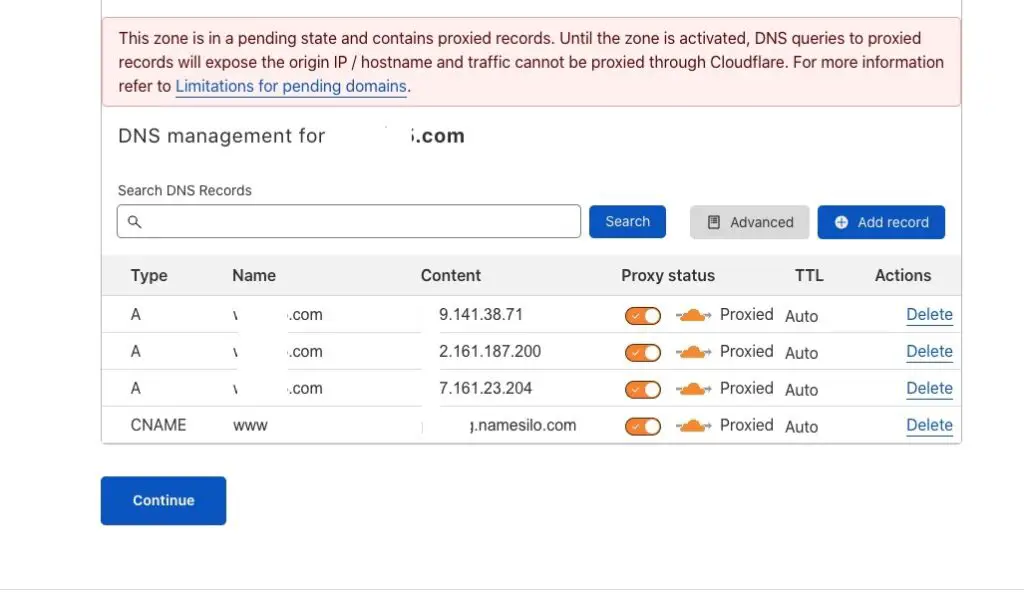
Below is the unaltered DNS record. Just click continue for now without any changes.
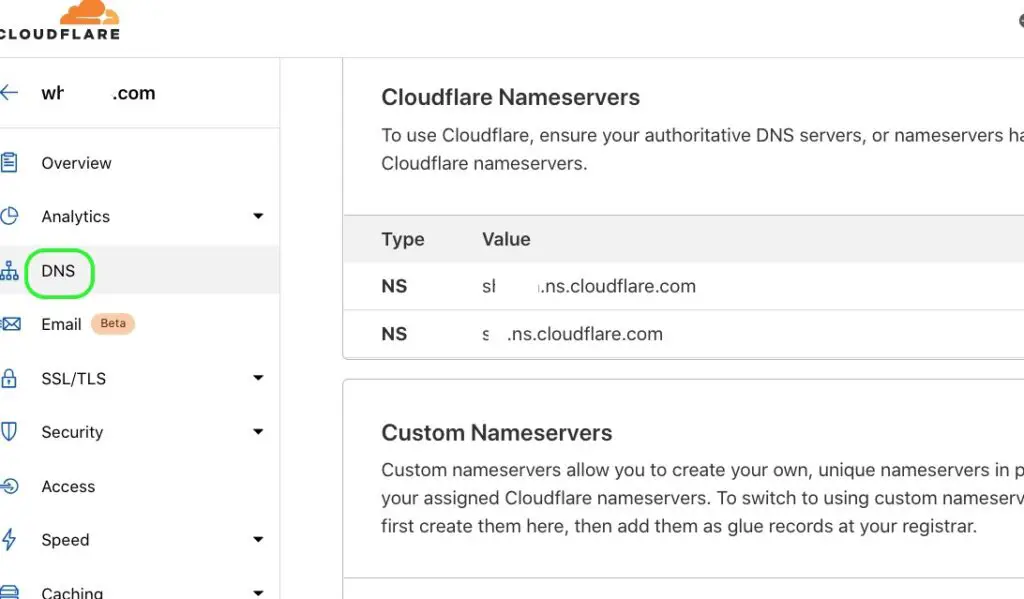
Now we have the nameservers below for pasting into the domain provider.
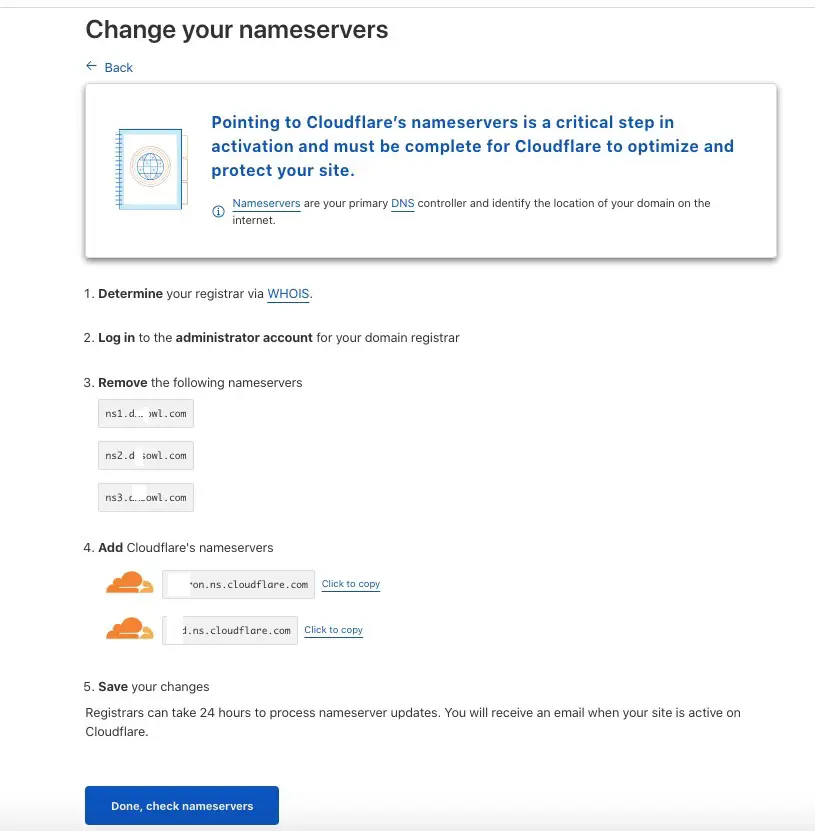
We can also get the Cloudflare Nameservers from the DNS tab on the left.
After submitting the nameservers and finished processing, click the Done, Check Nameservers button above for Cloudflare to proceed.
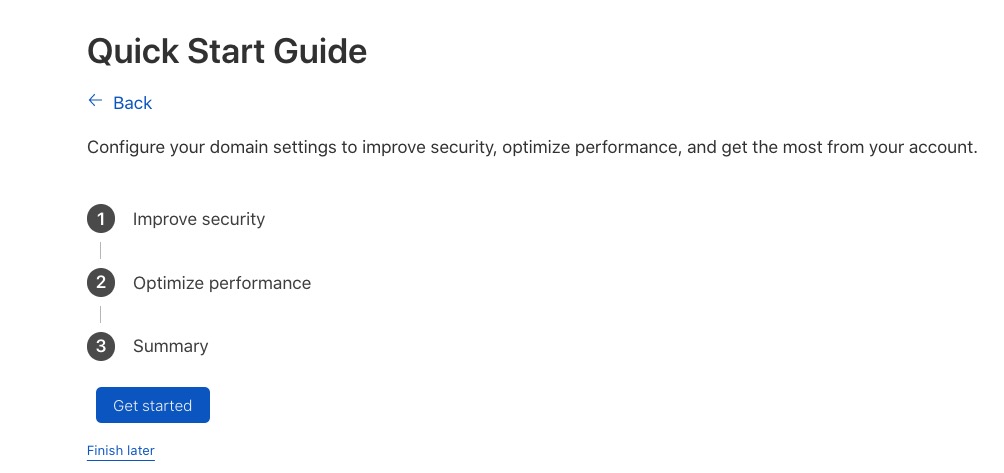
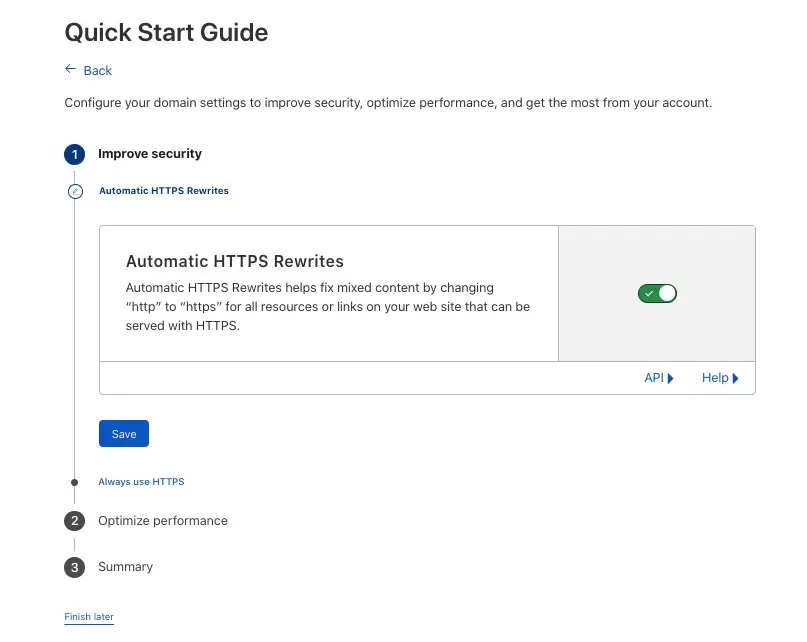
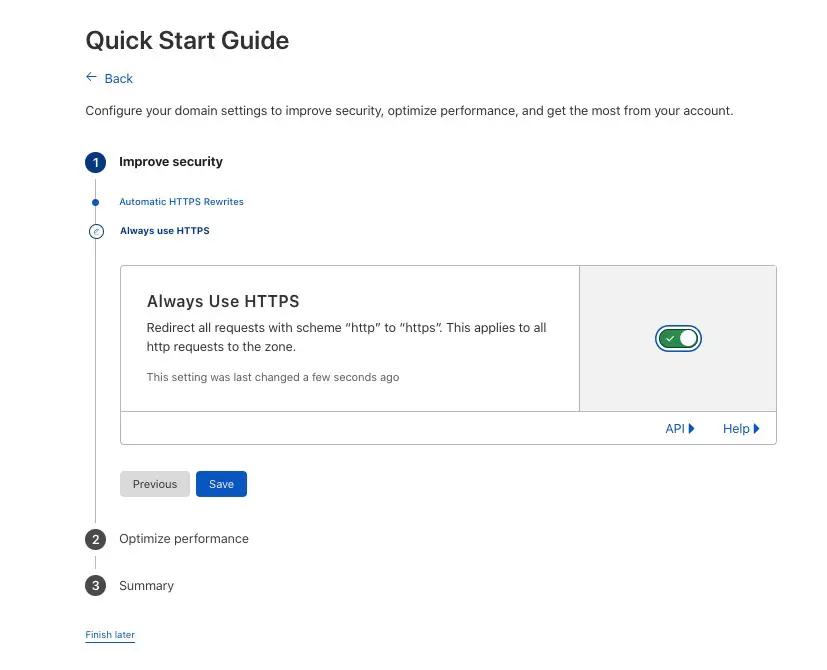
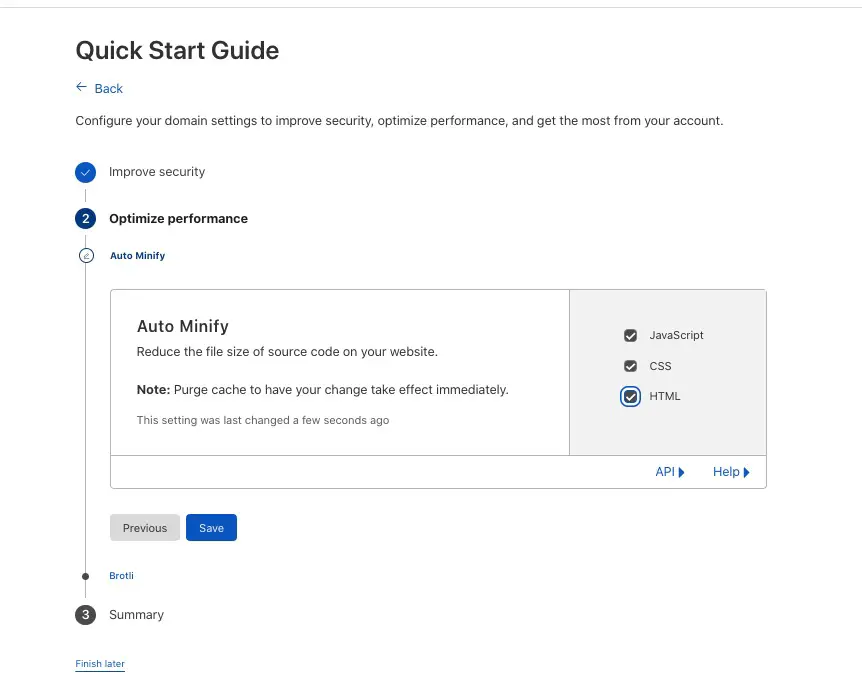
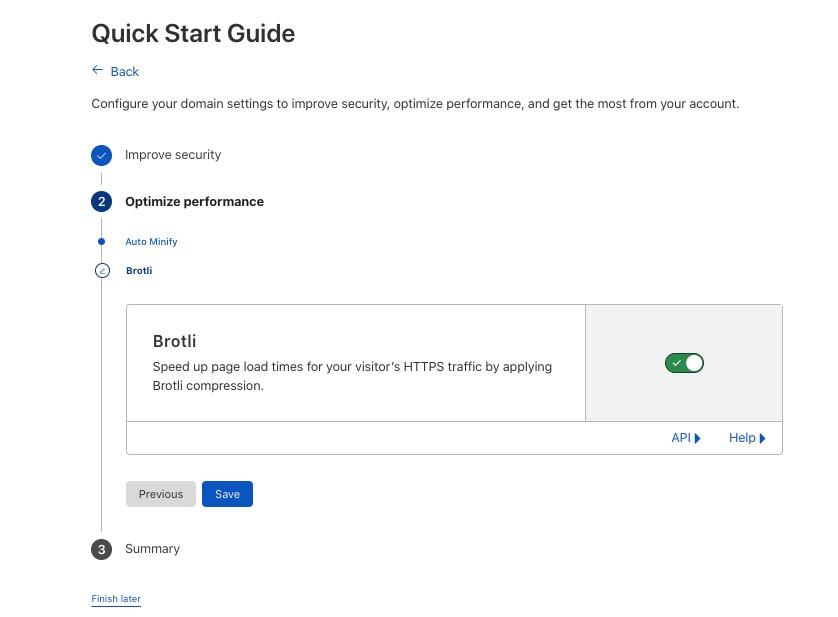
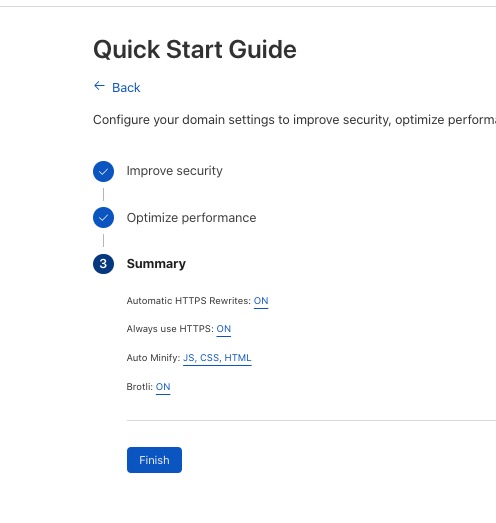
Cloudflare will begin the Quick Start Guide now.
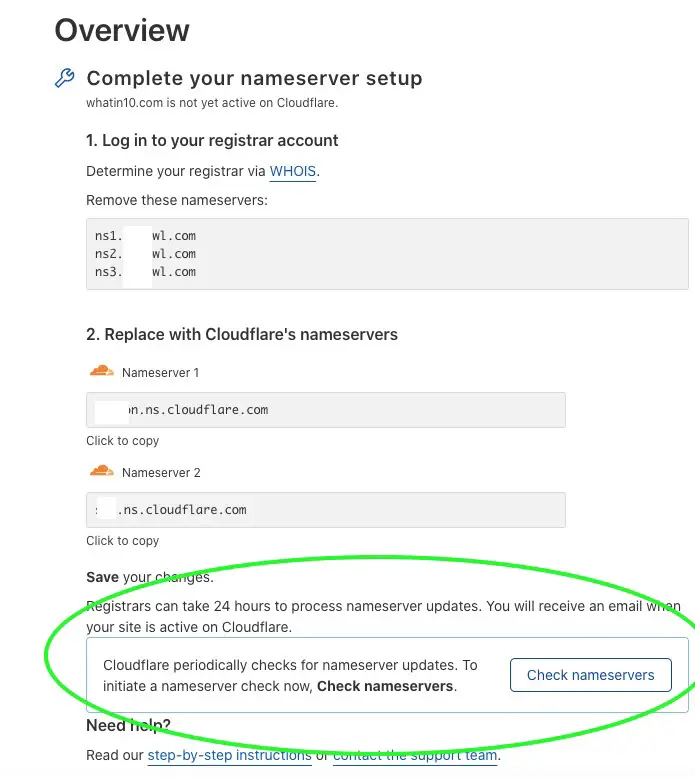
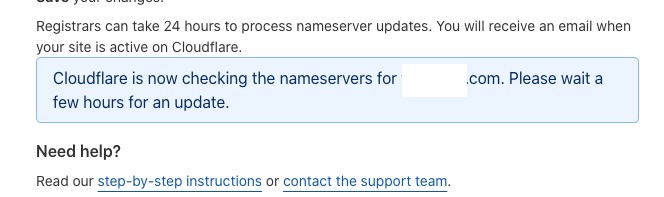
This basically means that the nameserver has propagated to Cloudflare and all is good. We can continue to now get the IP address from the hosting provider and update it into the DNS record we saw earlier.
Hosting
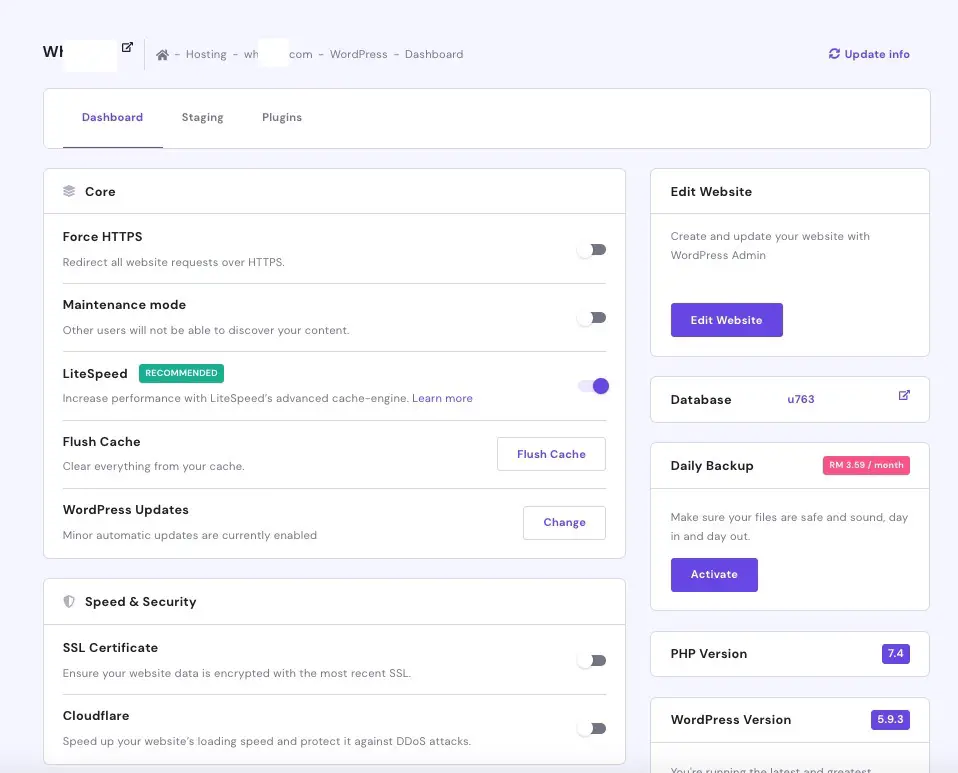
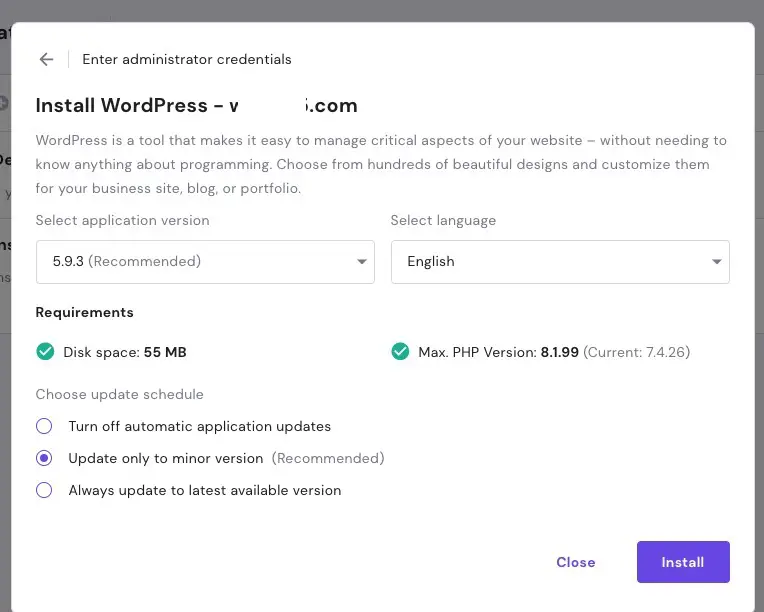
Installing WordPress on a modern hosting provider can be a simple affair. This can be done in minutes.

The beauty of Cloudflare is that we have our free SSL there without having to set those settings in the hosting provider and pay for it.
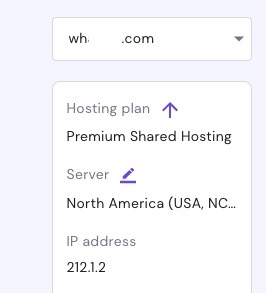
On the left panel of the website dashboard in Hostinger, copy the server IP address.
Go back to Cloudflare. Navigate to DNS for that site. Edit and remove some DNS records.


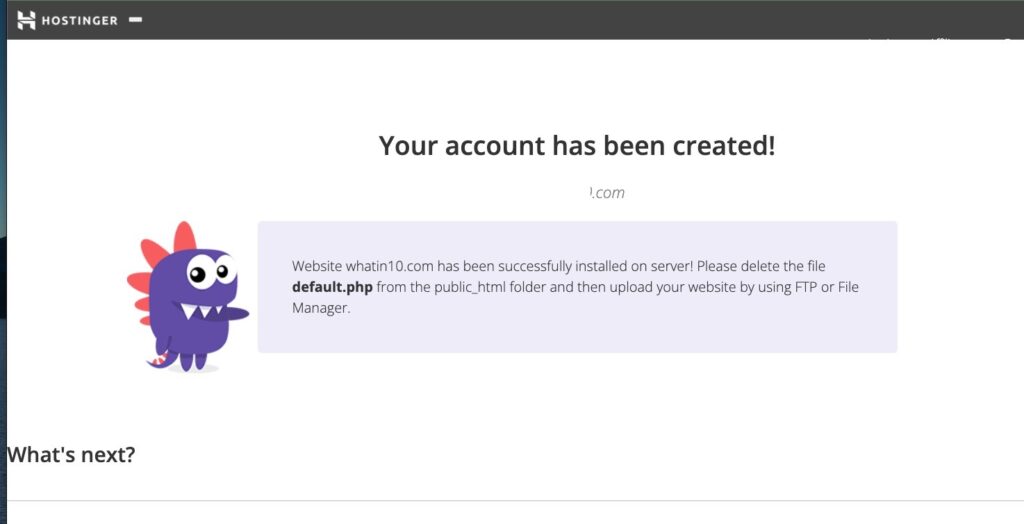
If you browse the new site URL, you should see that the site is up. It took some seconds to happen in my case.
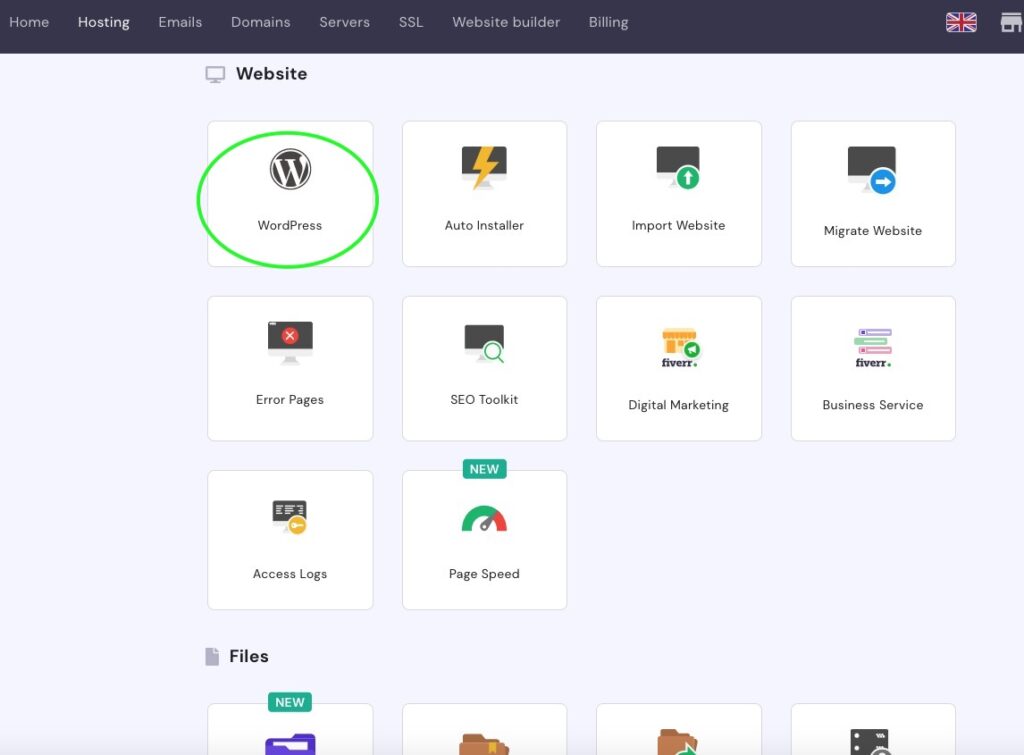
Let us set up WordPress at the hosting now. Head over to the site’s dashboard and look for WordPress.

Go to https://www.your-website-address.com/wp-admin in the address bar to start login and administrate your WordPress site.

Congratulations, your WordPress site is up and running with free SSL, the cache for speed, and DDoS protection.
Google Search Console
Webmasters can connect their WordPress sites to the Google Search Console as well for search click stats and submission of new posts (How To Submit URL Or Site To Google & More).
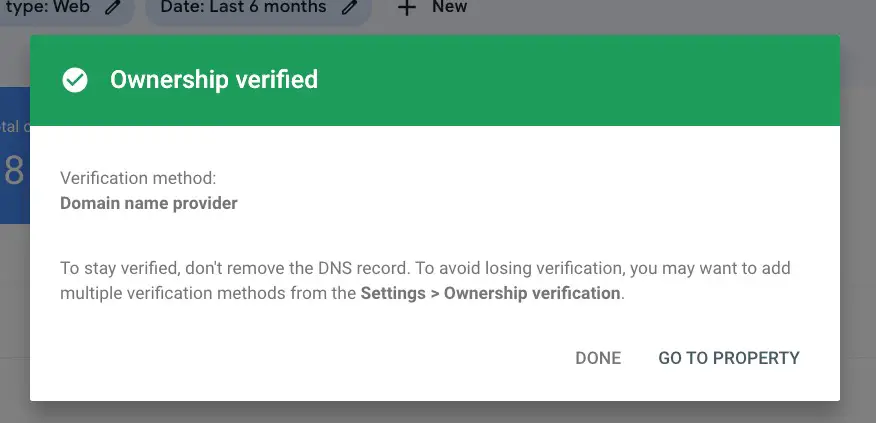
There are a few ways we can verify a new site in Google Search Console, I tend to find the TXT method may be one of the fastest.
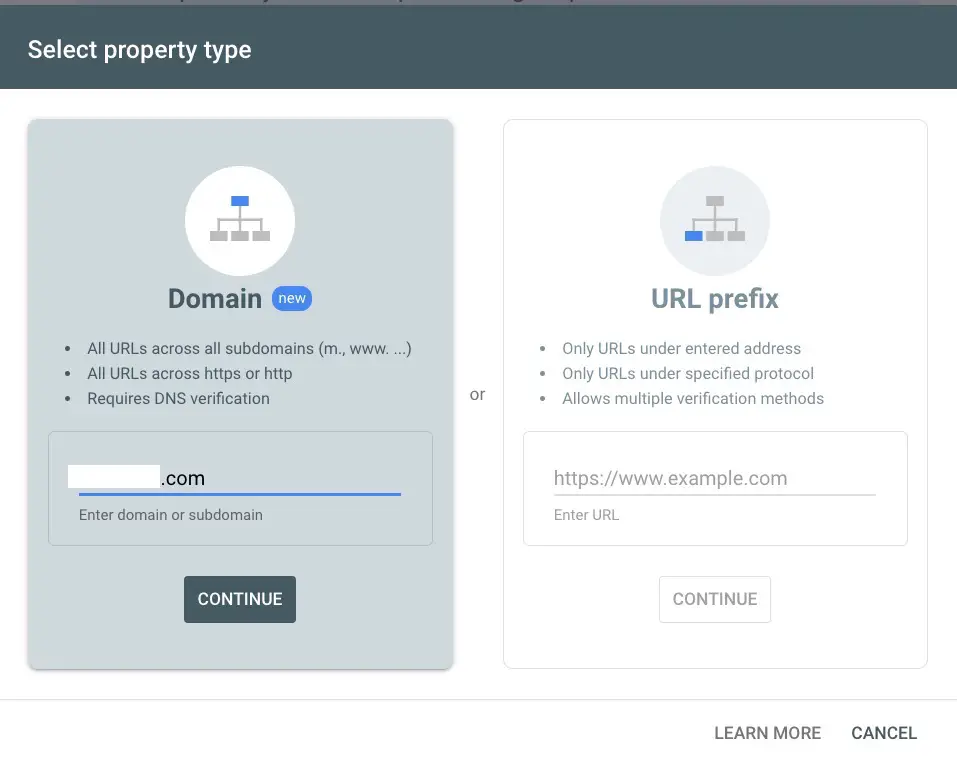
How to verify a new site with a TXT record at Google Search Console?
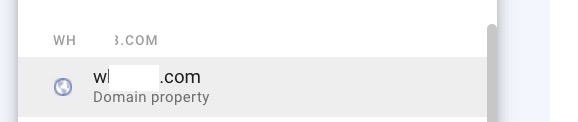
Sign up for a Google Search Console account and click the drop-down bar on the top-left to add a property.

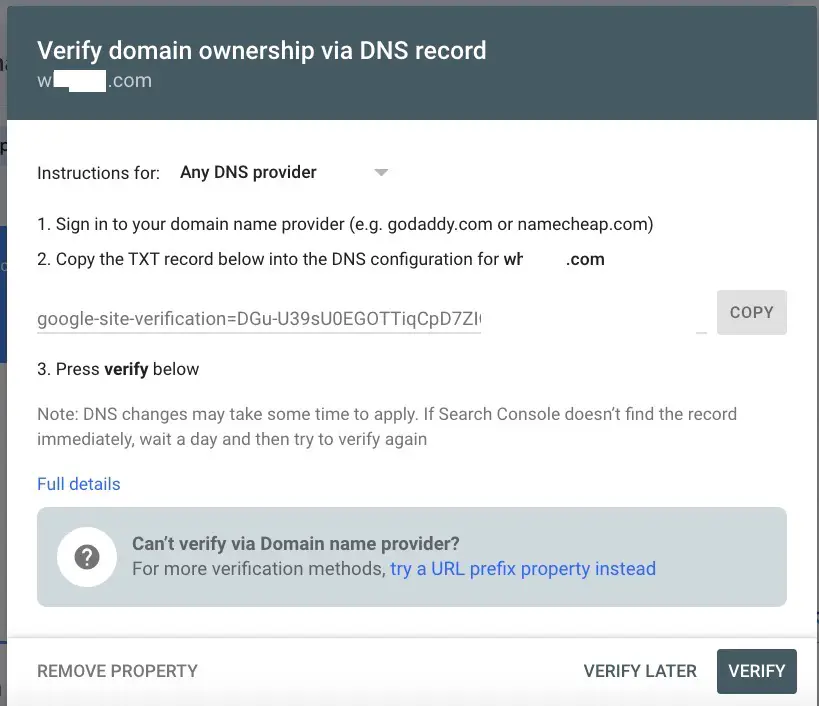

For sites connected to Cloudflare, create the TXT record at the Cloudflare DNS setting.
For example, | Type is TXT | Content is @ | Content is the copied text provided by Google Search Console.
Note: Since Nameserver is pointed to Cloudflare now, any changes or additions should be made on Cloudflare, not the registrar. You may not be able to verify your domain from the Google search console by selecting your registrar there. Just add that TXT record at Cloudflare DNS manually and go to Google Search Console to verify the domain immediately.
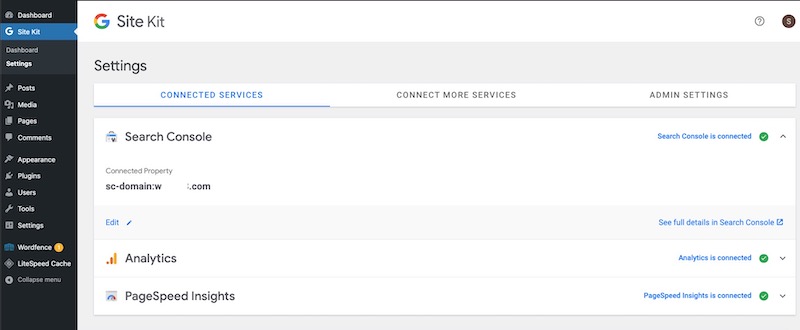
We may easily connect to different Google services with the WordPress Site Kit plugin, read more in Easy Guide: Getting Your Site Adsense Ready For Approval.
What are some Cloudflare free benefits?
- Free SSL (6 months with auto-renew)
- Protection DDoS
- Cache for site speed
- Fast DNS connection setup to registrar and hosting (results may vary)
Conclusion
All in I got from registration to the WordPress site with SSL and protection up and running in half a day. With the clarity of this experience, it is possible to be even faster. DNS propagation used to be slow, but somehow this is so much faster to get a site up and running.
Only a few seconds or less for NameSilo to process new Cloudflare DNS and another few seconds for Cloudflare to successfully activate the website!
About a minute or less for Cloudflare DNS point to hosting.
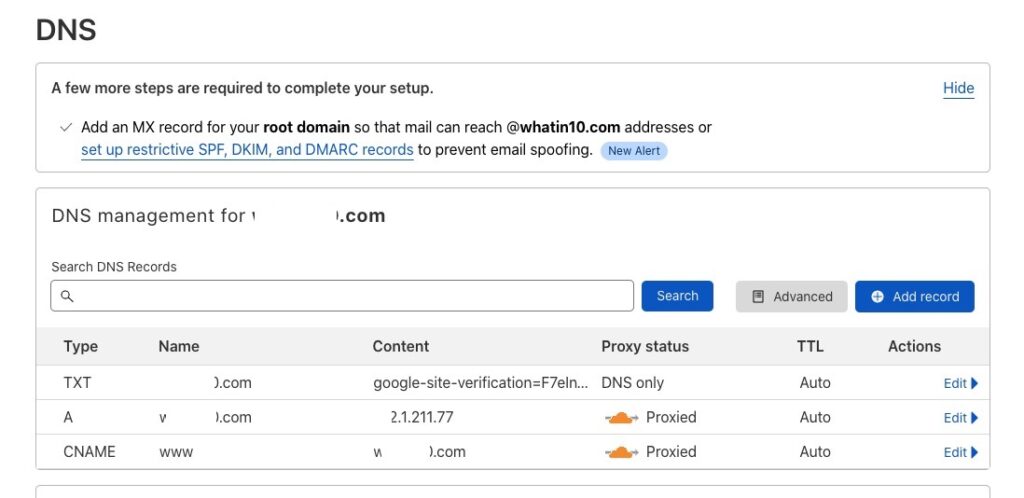
If you followed through the steps above, your Cloudflare DNS should have only 3 values now.
Be wholesome!
More Information
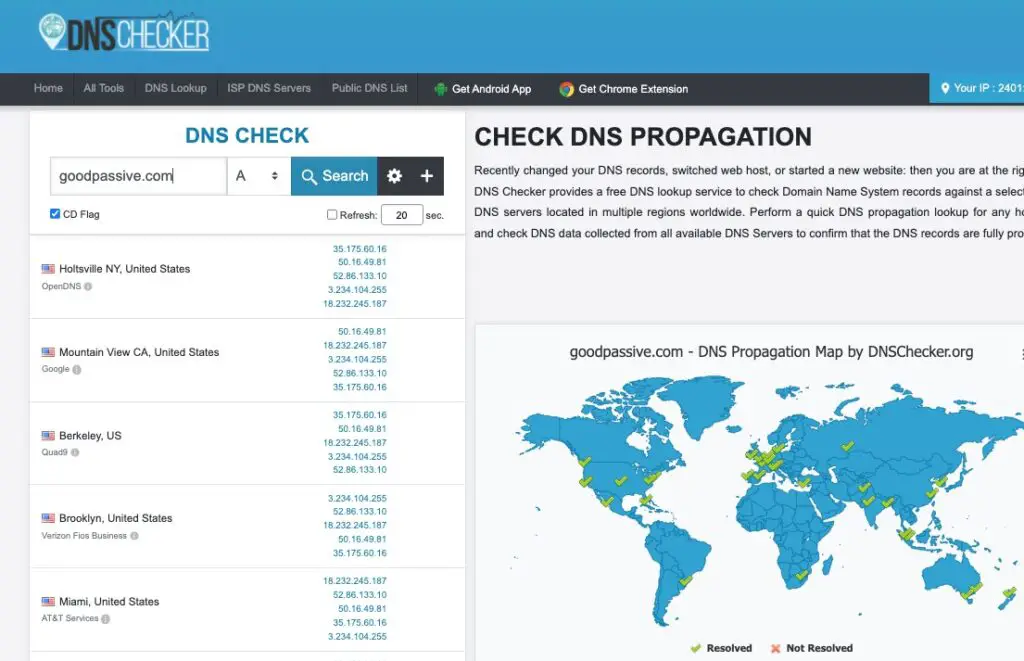
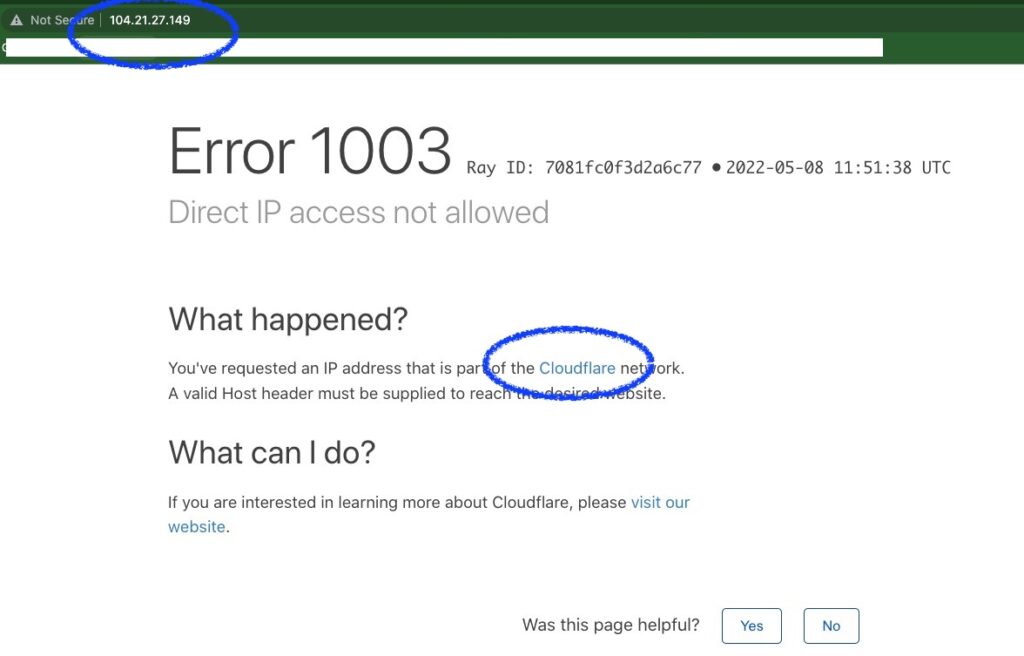
How to check if my website’s DNS has propagated to Cloudflare?
A manual ping command from the terminal will reveal the IP address.

We can see that the IP address for 104.21.27.149 belongs to the Cloudflare network. So we know the website DNS has propagated to Cloudflare.
We can also use DNSChecker to see how many places in the world the DNS has propagated to.