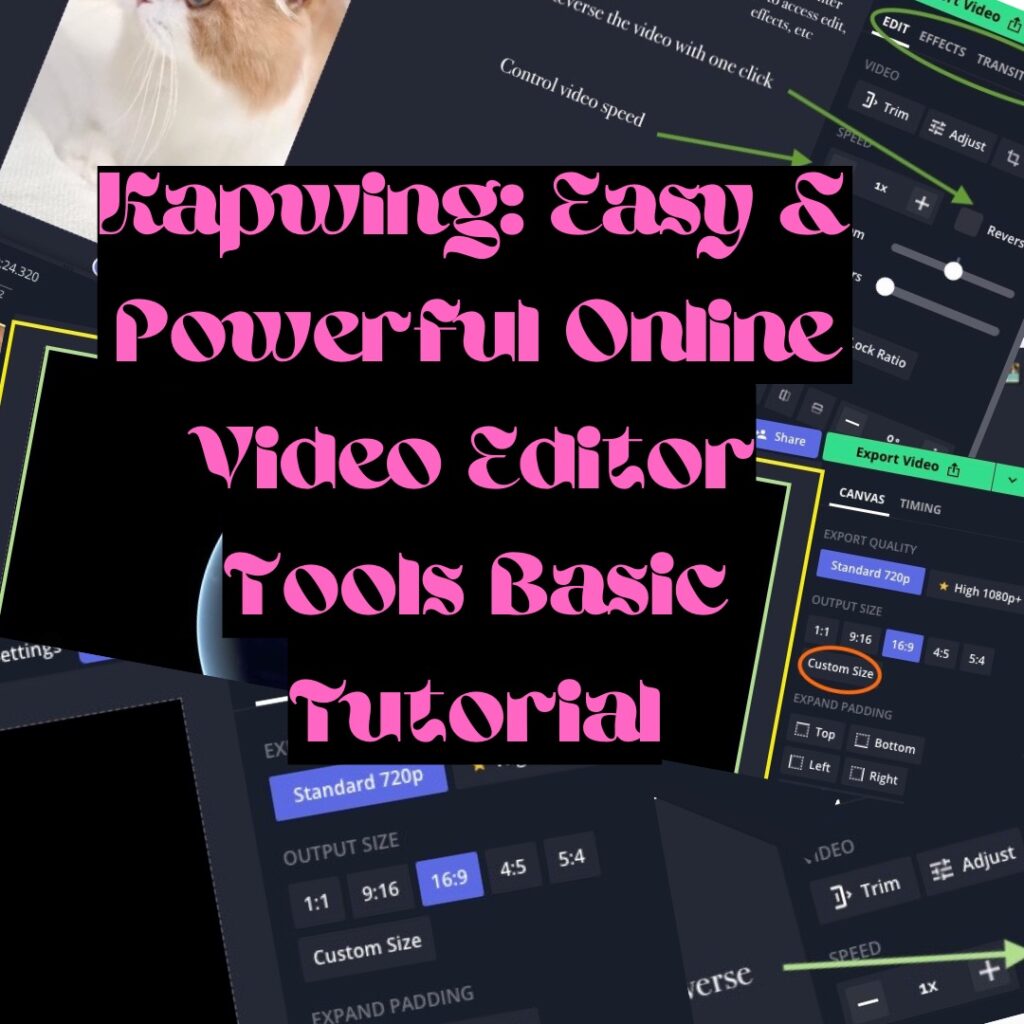
With a moderately high rating of 4.7 on Trustpilot, I am wondering what the rave of Kapwing is about. Let us explore together its features while I create an example video and this basic tutorial as well. Perhaps we may even uncover some gems that stand out from Clipchamp, FlexClip, and invideo.
The example video created and uploaded to YouTube can be found here.
Kapwing: easy online video editor tools basic tutorial
- Sign up at Kapwing and log in
- Create new project
- Start with a blank canvas (in this tutorial) or upload your own media
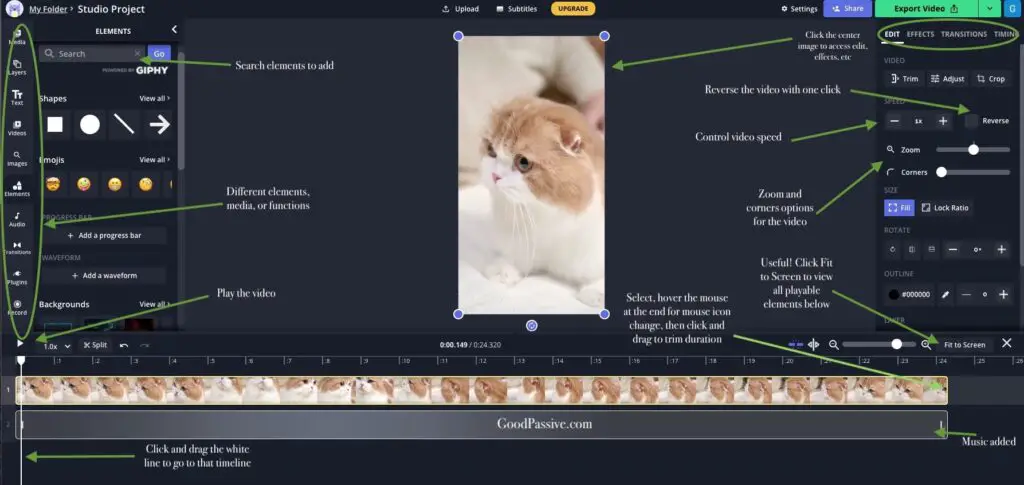
- Start editing the video by adding media from the left, arranging them in the timeline at the bottom, setting the different options on the right, etc
- Export when done
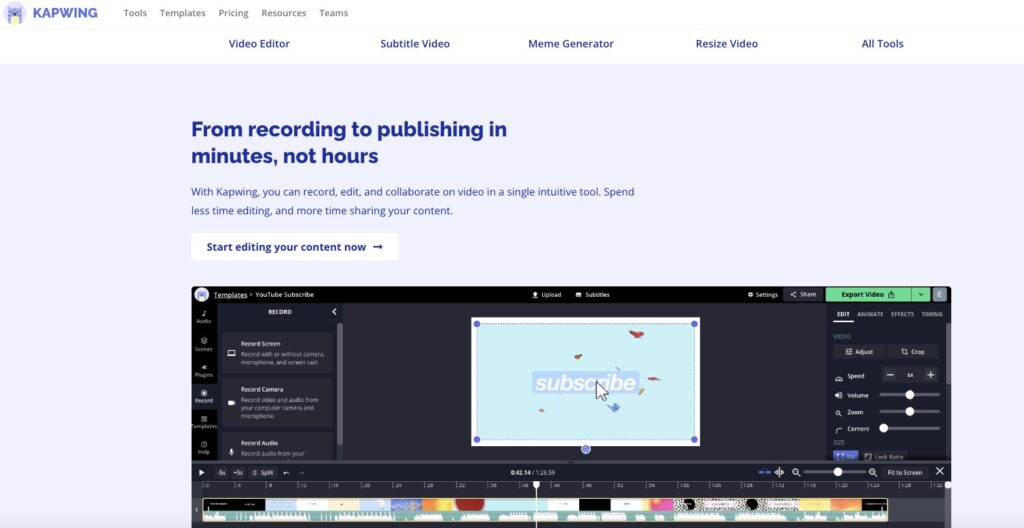
This is Kapwing’s homepage. It states from recording to publishing in minutes, not hours – that got me interested. I have mentioned on invideo I took about hours just to produce a few minutes of video. I like to see how it will work out with Kapwing!
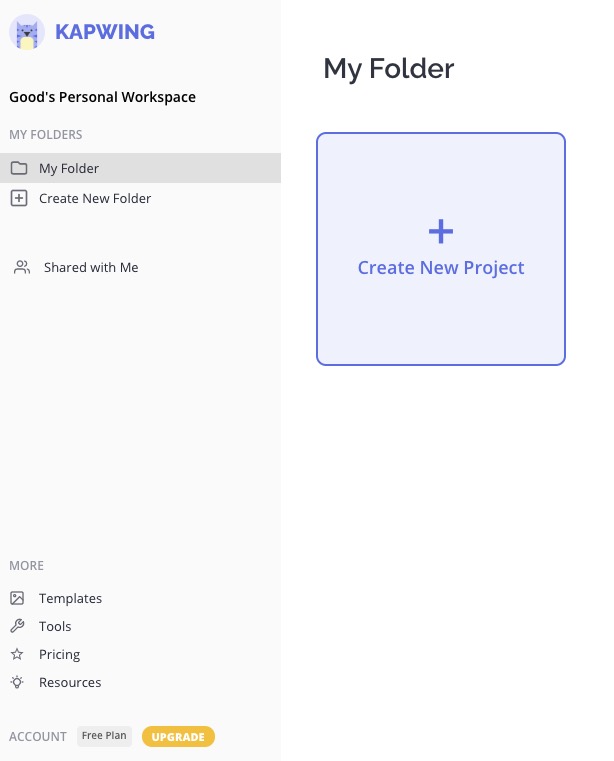
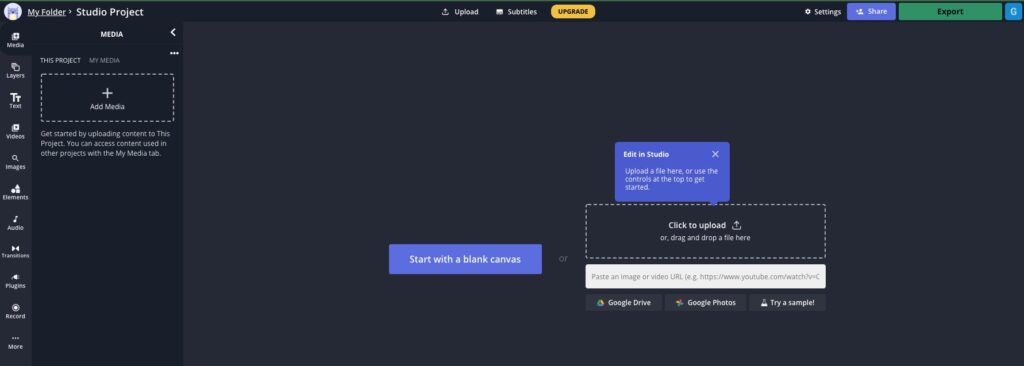
Choose Start with a blank canvas. I learned that Kapwing has free stock videos for use as well.
Click Videos on the left and search for a topic e.g. Cat, and select one.
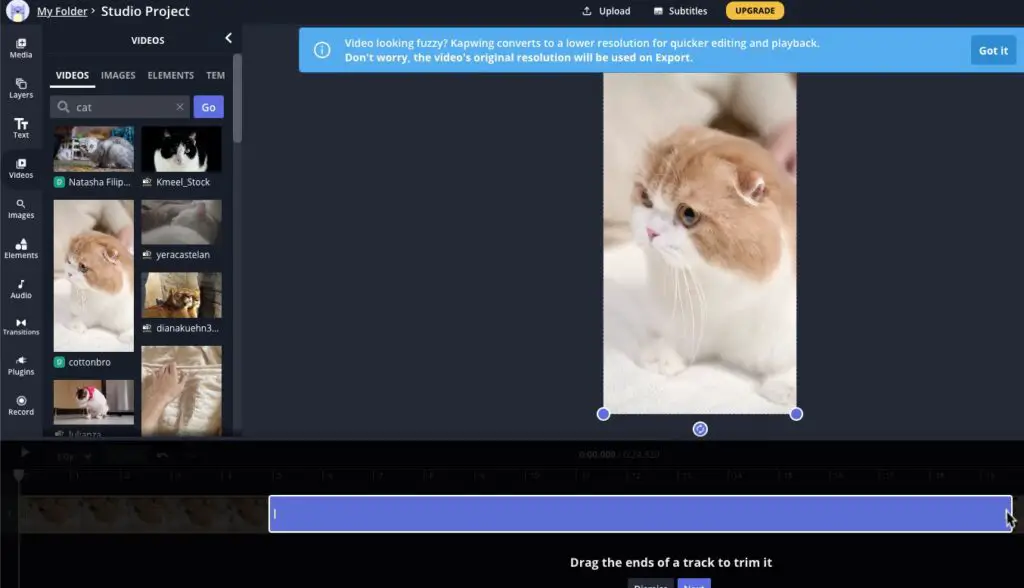
Below are some basic features for creating and editing a Kapwing video. Click anywhere along the timeline to set the white line there. The spacebar can play or pause the video.
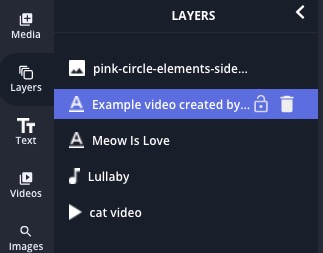
Select Layers on the left to lock or delete the different elements or objects (optional).
I also added a waveform (music dancing bars) and a progress bar to the video. And fade effects on the objects.
Benefits of Kapwing
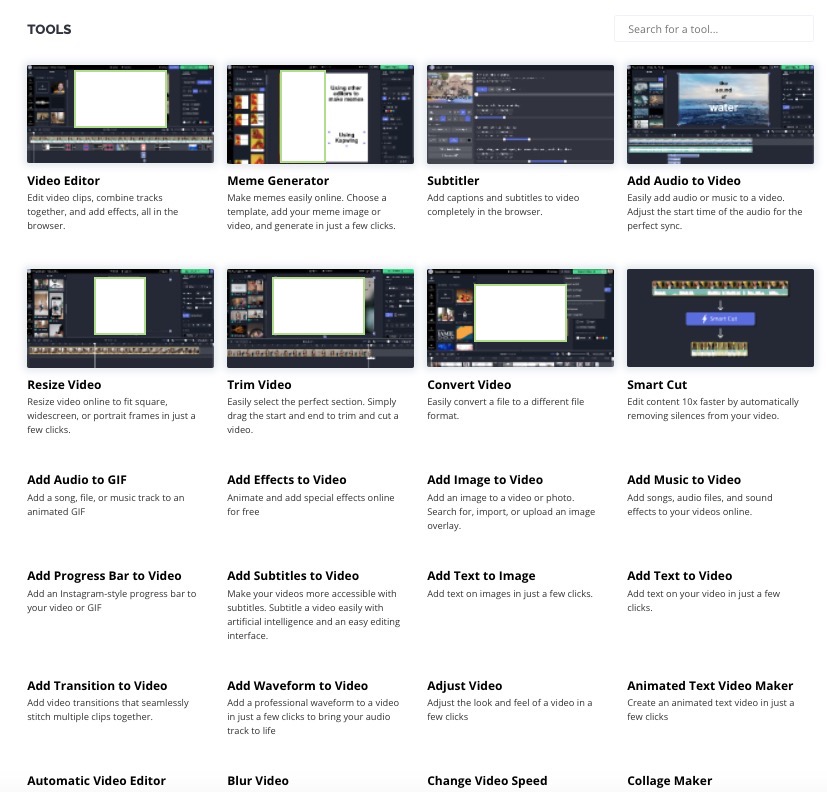
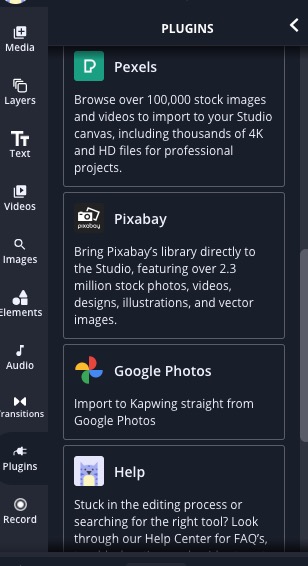
There are currently 69 tools listed including a YouTube video editor. The plugins feature on the left lets users easily access media resources e.g. Pexels and your Google Photos.
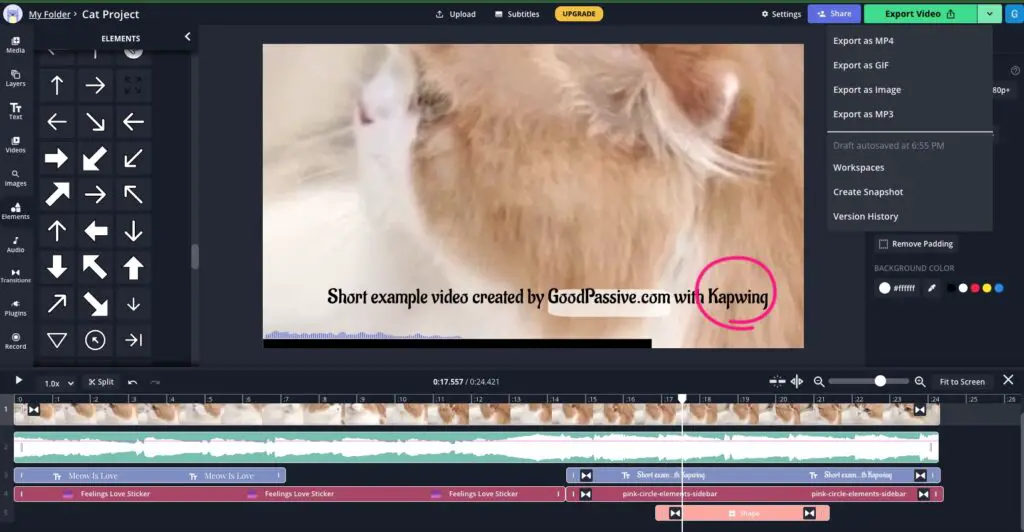
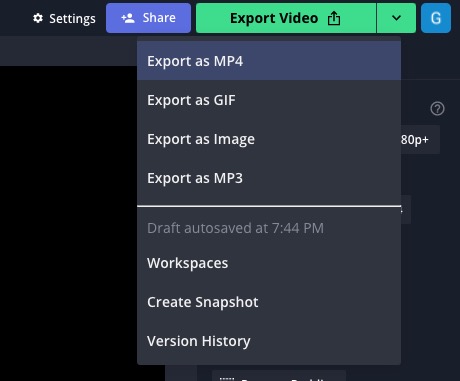
There are 4 export options: MP4, Gif, image, and MP3.

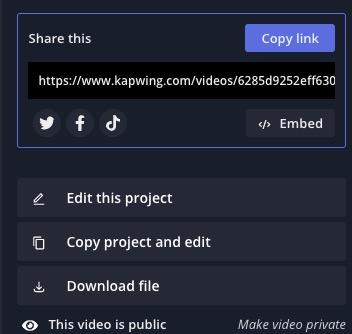
The file size is 4.2MB at 720p resolution for 24 seconds of playtime.
Please note that the use of media and memes for tutorial purposes should fall under fair use but I would be careful to use them for professional video production.
How does Kapwing compare to other online video editors?
Clipchamp and FlexClip are also easy to use. invideo has millions of stock media. Clipchamp can export to 1080p for personal media. Kapwing has many tools that may not be available in others (some are covered under the More Information section).
Conclusion
Kapwing offers tools or features I have not noticed in other online video creators, such as subtitles and reverse.
Kapwing is pretty straightforward to use. Creating video is fast, though not necessarily faster than other online video creators I tested.
It is a video tools creator that is fit for professional usage, however, the free account may be too limited for that, though casual video creators can still benefit from this powerful video tool.
Be wholesome.
More Information
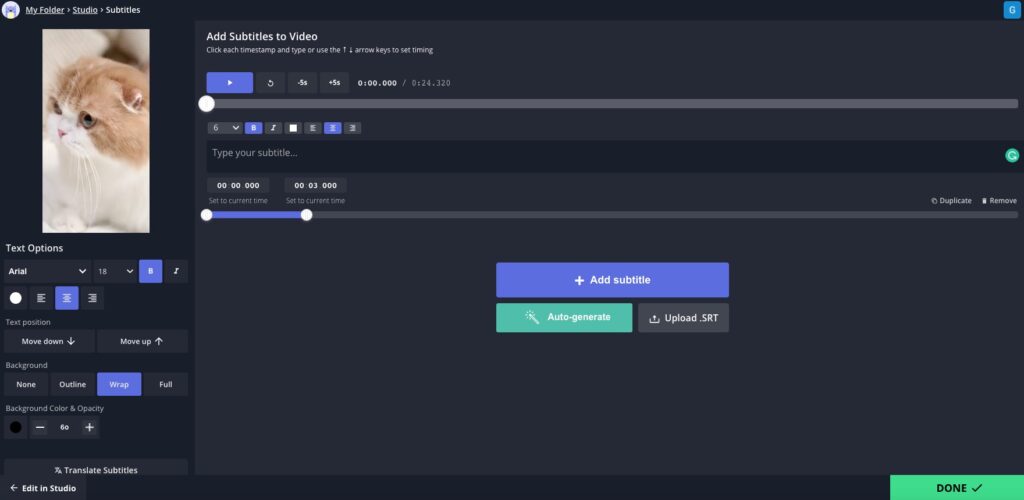
How to add subtitles to a video in Kapwing?
Click Subtitles at the top of the Kapwing studio editor.
- Type in the subtitles for the different time durations
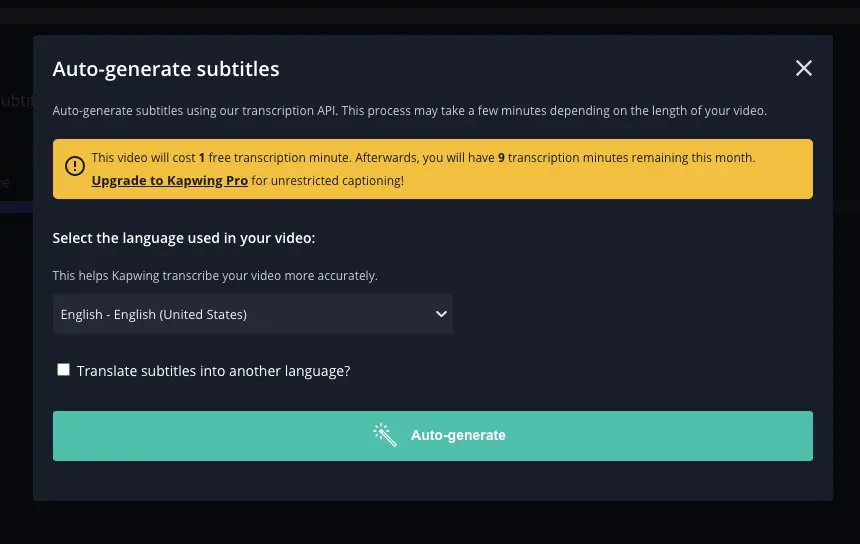
- Or Auto-generate
- Or upload a . SRT file
Note: There are limitations to auto-generate for free account

How to reverse a video in Kapwing?
Click the main media in the center, then click Reverse on the right in the Edit tab.

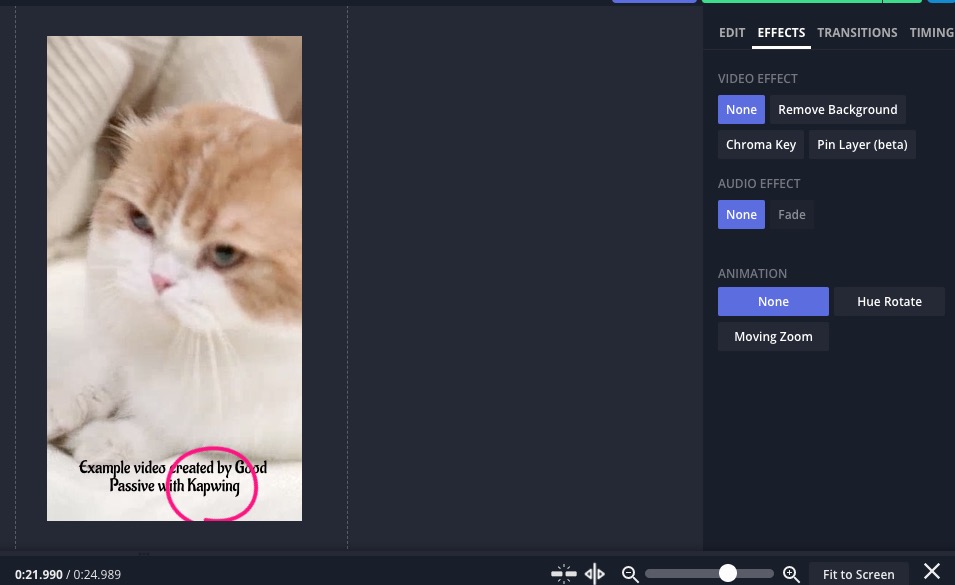
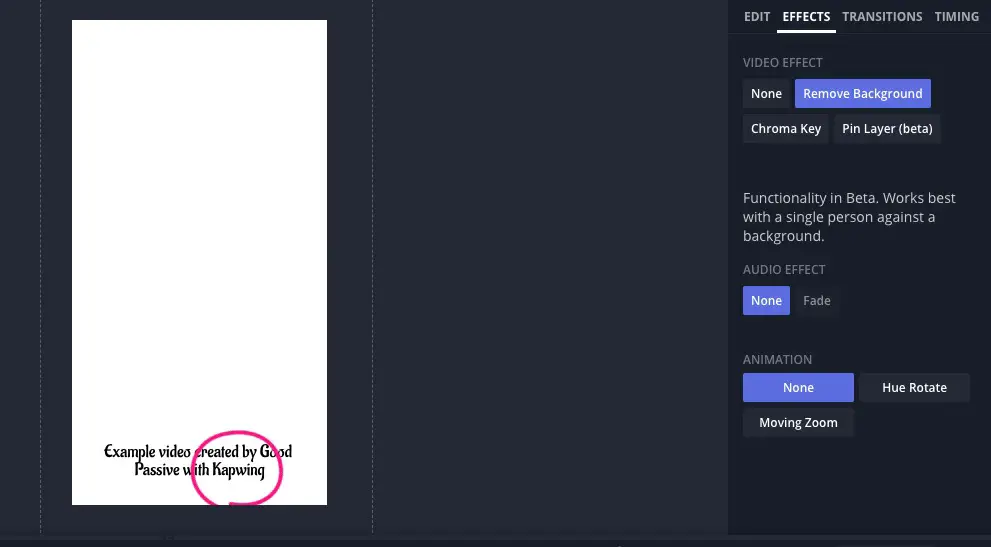
How to remove background in Kapwing?
Select the main media in the center, then navigate to the Effects tab on the right, and click Remove Background.
What is Kapwing’s pricing model?
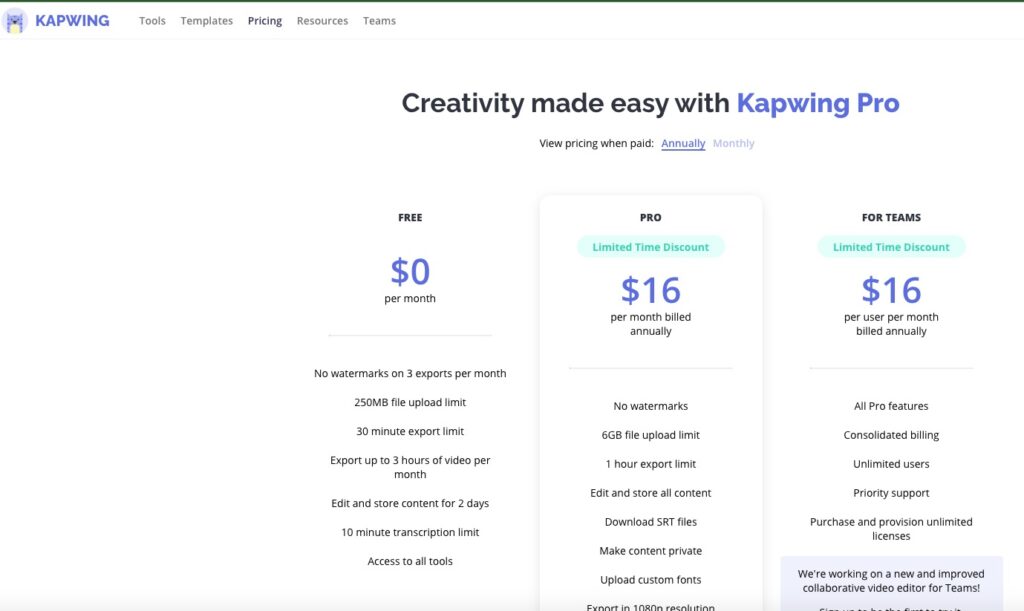
For a free account, there are no watermarks for only 3 exports per month and 30 minutes export limit among some other limitations. For professional video creators, that may not be enough, and the next plan at $16/mo (annual plan) provides much more room for production.
How to convert video with Kapwing?
Click and drag the video file to be converted e.g. MOV file into the Kapwing studio editor project dashboard. And click export

How to trim video in Kapwing?
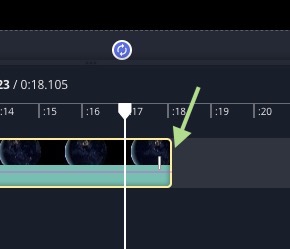
Hover the mouse at the edge of the video clip till it changes form. Then click and drag to adjust.
How to resize the video in Kapwing?
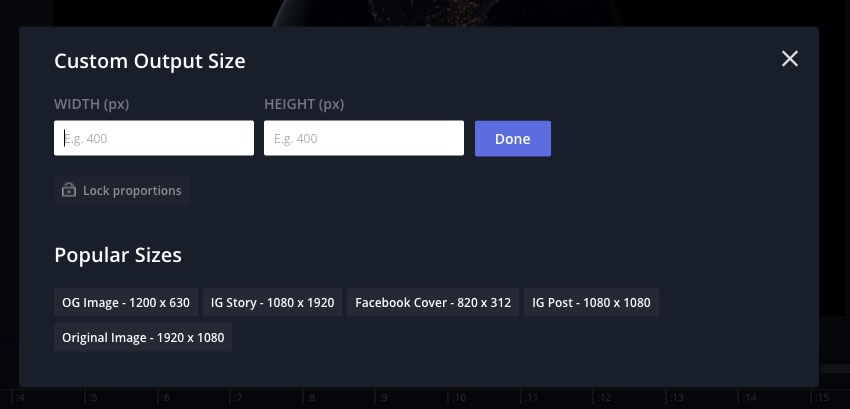
Click anywhere in the canvas outside the media (between the green and yellow line illustrated below) to reveal the CANVAS tab on the right. Select one of the output sizes or click Custom Size.

